How to hardwire a dash cam for a pickup truck

Check out your helpful results below!
Jump to a section, or see what you’ll get:
Jump to:
Scroll for the full guide ↓
  • 🎥 A step-by-step video walkthrough
  • 🧰 A tools & supplies checklist
  • 📋 Clear step-by-step instructions
  • ⚠️ Safety notes + pro tips
  • 🧑‍🔧 Connections to local pros (if you want help)

Video

Don't Let This Be You

Estimated Time:

Difficulty:

Tools

    Materials

      Steps

        Safety Notes

          Pro Tips

            Did this tutorial help?

            Send me this Do It Yourself tutorial via email

            Need a pro

            Need a pro?

            Tell us what went wrong and we’ll connect you with a trusted local pro.

            Please enter your name.
            Enter a valid email.
            Enter a valid phone number.
            Enter your ZIP/postcode.
            Pick a trade.
            Tell us a bit about the issue.
            Image must be under 3 MB.
            By sending, you agree to our Terms and Privacy.
            Free quotes No spam Cancel anytime
            diy4uai21-20
            Trim removal tool, Wire stripper, Multimeter, Screwdriver set, Socket wrench, Electrical tape
            Always disconnect the vehicle battery before working with electrical components., Use a multimeter to verify fuse power states before tapping., Avoid routing wires near airbags or moving parts., Wear gloves and eye protection when working under the dash.
            Disconnect the negative terminal of the vehicle battery to prevent electrical shorts. Locate the interior fuse box, usually found under the dashboard or near the glove box. Use a multimeter to identify a fuse that only has power when the ignition is on. 
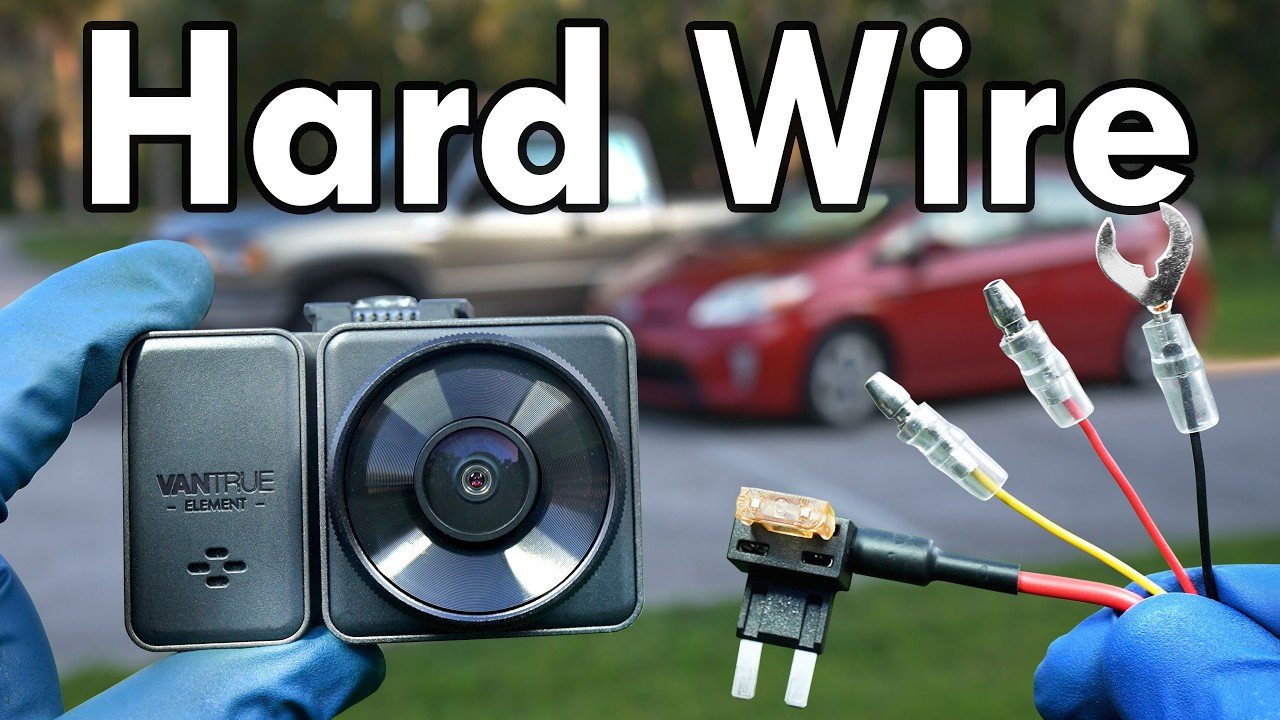
Connect the red wire from the hardwire kit to the add-a-fuse connector. Insert the add-a-fuse into the identified ignition-switched fuse slot. Attach the ground wire from the hardwire kit to a metal bolt or chassis ground point. Use a trim removal tool to tuck the power cable along the headliner and A-pillar. Route the cable down to the fuse box, keeping it hidden behind trim panels. Mount the dash cam on the windshield behind the rearview mirror using the adhesive pad. Plug the power cable into the dash cam’s power port. Use zip ties to bundle and secure any excess wiring under the dashboard. Double-check all connections for tightness and proper routing. Reconnect the negative terminal of the vehicle battery. Start the vehicle and verify that the dash cam powers on with the ignition. Check the dash cam’s recording function and settings menu. Ensure the camera has a clear view of the road and is level. Adjust the camera angle if necessary for optimal coverage. Confirm that the fuse box cover can be reinstalled without pinching wires. Secure any loose trim panels that were removed during installation. Take a short drive to confirm the dash cam records properly while driving.
            Dash cam with hardwire kit, Add-a-fuse kit, Zip ties, Fuse taps, Ring terminal (if grounding to bolt)
            Medium
            Use an add-a-fuse kit to avoid cutting factory wires., Choose a fuse that powers on only with the ignition to prevent battery drain., Label your fuse tap for future reference., Test the dash cam before finalizing cable routing.
            90
            https://www.youtube.com/watch?v=lQtZF0g51Ak
            if( length(trim() > 0; trim(); "https://youtu.be/9n6em1ZBOvI?si=rWqitTC3UuZtYa7y" )