Remove any items from the truck bed and sweep out debris using a cleaning brush.
Clean the truck bed surface thoroughly with rubbing alcohol to remove dirt and grease.
Measure the truck bed dimensions using a measuring tape to compare with the bed mat.
Lay the bed mat on a flat surface and trim edges with a utility knife if it's too large.
Place the trimmed mat into the truck bed to test the fit and alignment.
Mark the areas on the bed and mat where anti-slip strips will be applied.
Clean the marked areas with rubbing alcohol to ensure proper adhesion.
Peel backing from adhesive hook and loop strips and apply to the truck bed.
Attach the corresponding hook and loop strips to the underside of the mat.
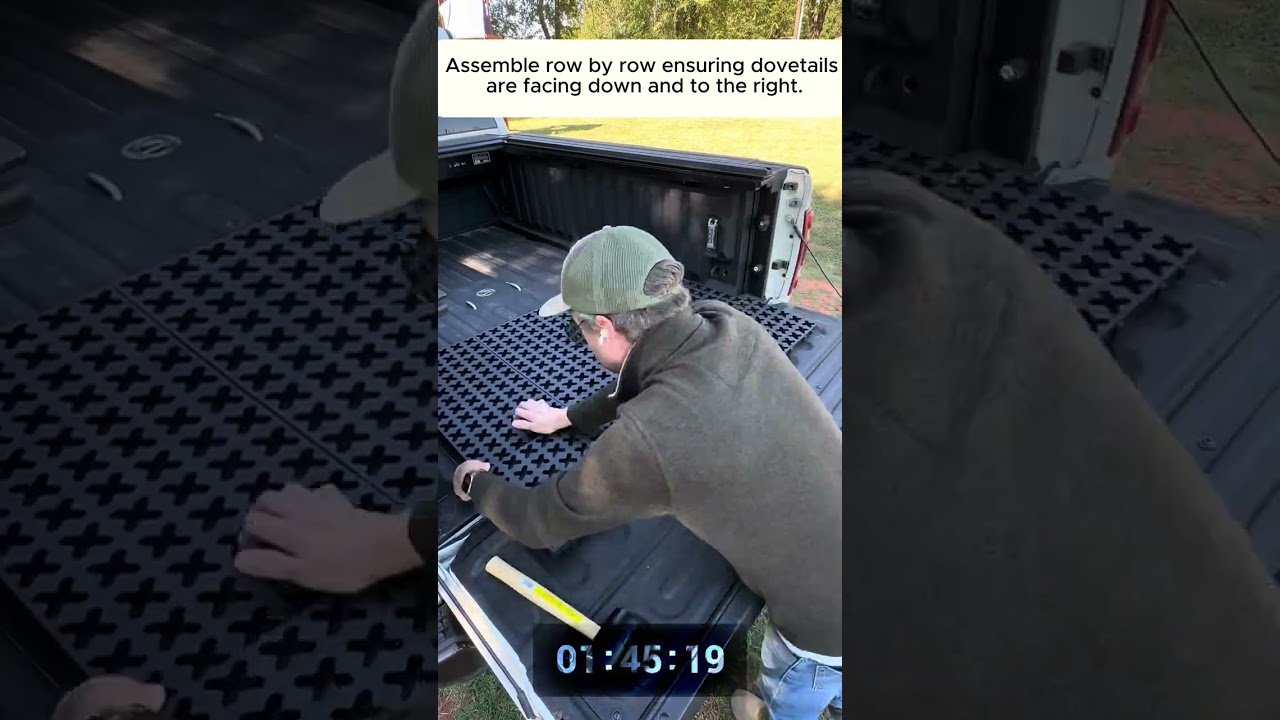
Carefully align and press the mat into place over the adhesive strips.
Use a rubber mallet to gently tap the mat down for better adhesion.
Step on different sections of the mat to ensure it is secure and doesn’t shift.
Try sliding the mat by hand to test for movement and identify loose areas.
If needed, add more adhesive strips to areas where the mat still slides.
Optional: Place a non-slip bed liner underneath the mat for added grip.
Recheck the mat’s position and make final adjustments for a snug fit.
Allow adhesive to cure per manufacturer instructions before loading cargo.
Inspect the mat periodically to ensure it remains secure over time.