How to replace a garage door motor

Check out your helpful results below!
Jump to a section, or see what you’ll get:
Jump to:
Scroll for the full guide ↓
  • 🎥 A step-by-step video walkthrough
  • 🧰 A tools & supplies checklist
  • 📋 Clear step-by-step instructions
  • ⚠️ Safety notes + pro tips
  • 🧑‍🔧 Connections to local pros (if you want help)

Video

Don't Let This Be You

Estimated Time:

Difficulty:

Tools

    Materials

      Steps

        Safety Notes

          Pro Tips

            Did this tutorial help?

            Send me this Do It Yourself tutorial via email

            Need a pro

            Need a pro?

            Tell us what went wrong and we’ll connect you with a trusted local pro.

            Please enter your name.
            Enter a valid email.
            Enter a valid phone number.
            Enter your ZIP/postcode.
            Pick a trade.
            Tell us a bit about the issue.
            Image must be under 3 MB.
            By sending, you agree to our Terms and Privacy.
            Free quotes No spam Cancel anytime
            diy4uai21-20
            Socket wrench set, Ladder, Screwdriver set, Pliers, Wire cutters, Voltage tester, Replacement garage door motor, Work gloves, Safety goggles
            Always disconnect power before working on electrical components., Wear safety goggles and gloves to protect against sharp edges and electrical sparks., Ensure the garage door is securely supported to prevent accidental movement., Use a sturdy ladder and stable supports when working on ceiling-mounted equipment., Verify that the garage door is fully closed and secured before starting work., Handle electrical wiring with care to avoid shorts or shocks., Follow manufacturer instructions for the new garage door motor installation.
            Turn off the power supply to the garage door opener at the circuit breaker to ensure safety. Manually open the garage door and use clamps or wedges to keep it in place during replacement. 
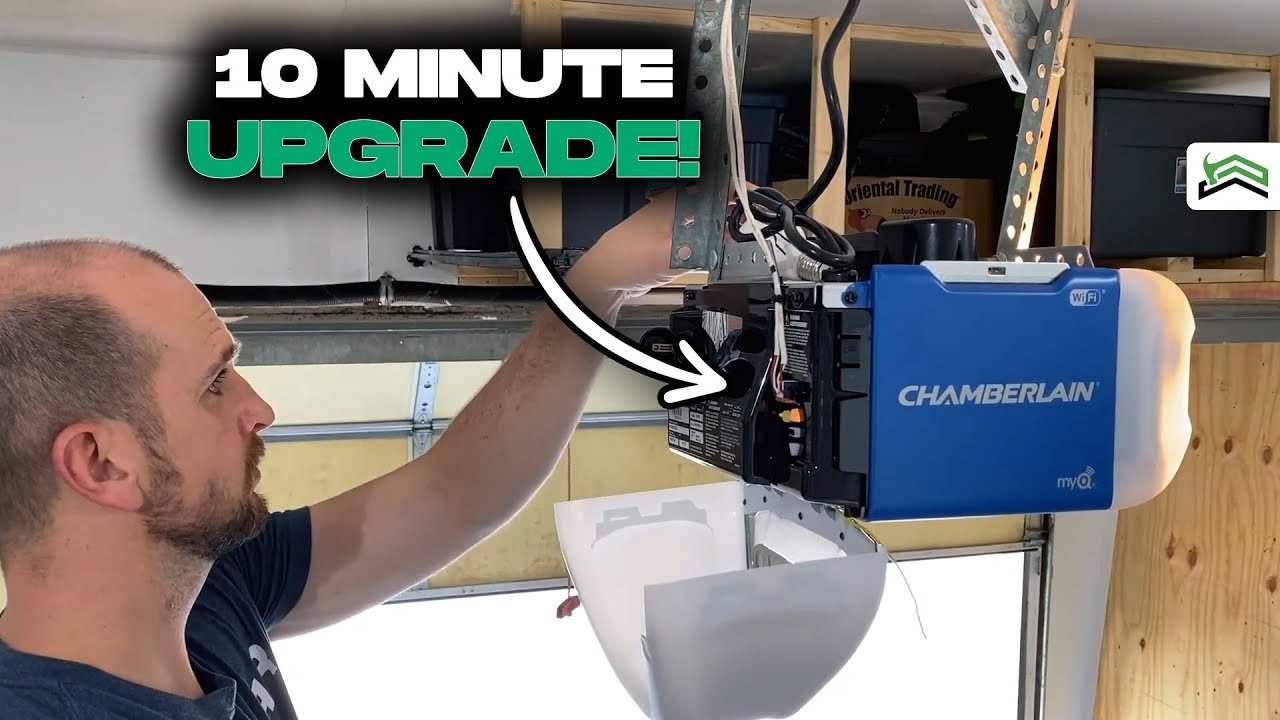
Remove the cover of the existing garage door motor using a screwdriver or socket wrench. Carefully disconnect the wiring harness and control wires from the motor, noting their positions. Use a socket wrench to unbolt the motor from its mounting bracket on the ceiling. Lift the old motor off the mounting bracket and set it aside safely. Position the new garage door motor in the same location, aligning it with the mounting holes. Secure the new motor with bolts, tightening them to manufacturer specifications. Reconnect the wiring harness and control wires to the new motor, ensuring correct placement. Use wire connectors and electrical tape to secure all electrical connections and prevent shorts. Replace the cover of the garage door motor and secure it firmly. Restore power at the circuit breaker and test the garage door operation using the remote or wall switch. Adjust the limit switches on the new motor if the door does not open or close fully. Observe the door's movement for smooth operation and make final adjustments as needed.
            New garage door motor, Garage door opener mounting hardware (if needed), Electrical tape, Wire connectors
            Medium
            Label wires before disconnecting to simplify reconnection., Check the garage door tracks for obstructions before testing the new motor., Lubricate moving parts of the garage door for smoother operation., Test the door multiple times to ensure proper alignment and function., Keep a spare set of tools handy for quick adjustments., Consult the motor's manual for specific wiring and adjustment instructions., Consider replacing the remote batteries if the door responds intermittently.
            60
            https://www.youtube.com/watch?v=J0fIACK5t7A
            https://youtu.be/9n6em1ZBOvI ​