Decide where on the truck you want to mount the accessory and ensure there is clearance behind the panel.
Use a measuring tape and marker or center punch to mark the exact hole locations for the rivnuts.
Drill a small pilot hole at each marked location to guide the larger drill bit.
Use the correct size drill bit for your rivnuts and drill out each hole to the required diameter.
Deburr the edges of each hole with a deburring tool or file to ensure a clean fit.
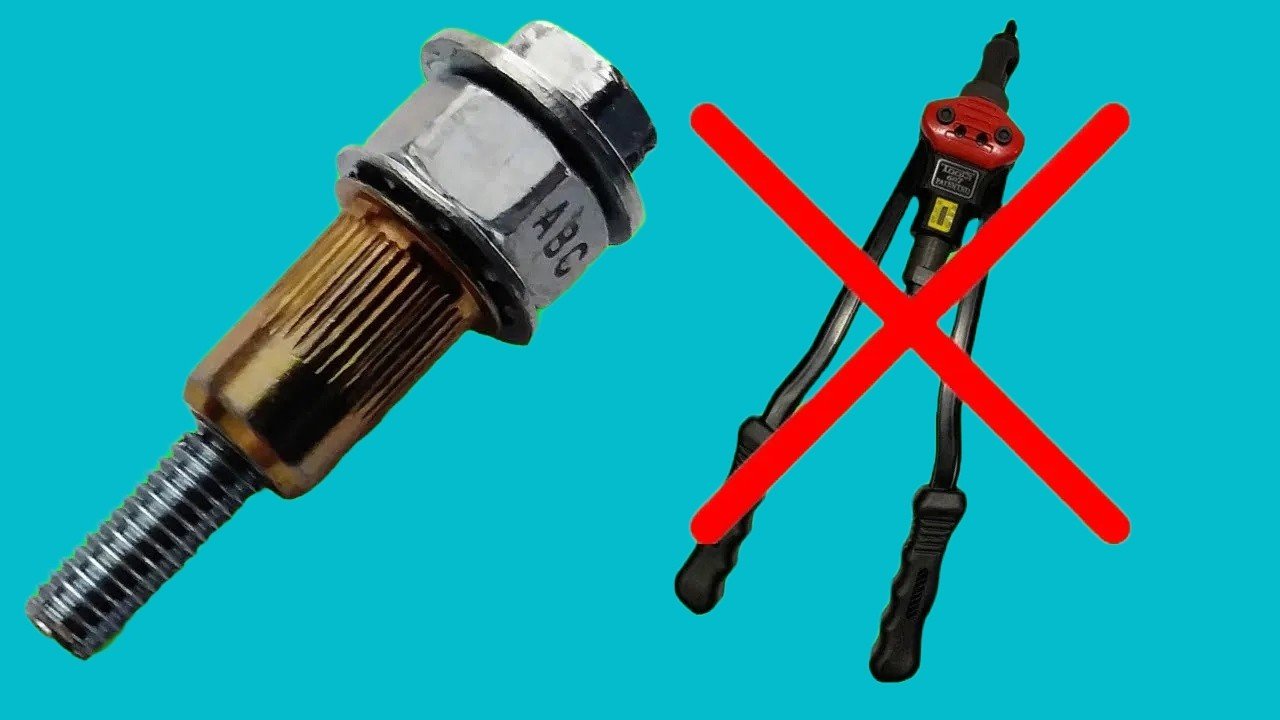
Thread a rivnut onto the mandrel of the rivnut installation tool according to the tool’s instructions.
Insert the rivnut into the drilled hole, ensuring it sits flush against the surface.
Squeeze or turn the tool to compress the rivnut, expanding it behind the panel to secure it in place.
Release and remove the tool carefully, ensuring the rivnut remains firmly seated.
Repeat the installation process for all remaining rivnut holes as needed.
Apply a rust inhibitor or primer around the hole edges to prevent corrosion, especially on bare metal.
Align the accessory with the installed rivnuts and insert bolts through the mounting holes.
Tighten the bolts using a wrench or socket set until the accessory is securely fastened.
Double-check all bolts for tightness and ensure the accessory is stable and properly aligned.
Clean up any metal shavings or debris from the drilling and installation process.
Test the mounted accessory to confirm it is secure and functions as intended.
Store the rivnut tool and leftover materials for future use.
Inspect the installation area periodically for signs of loosening or corrosion.
Re-tighten bolts if necessary after initial use or vibration from driving.
Use thread locker on bolts if the accessory is subject to frequent vibration.