How to install truck bed LED lights

Check out your helpful results below!
Jump to a section, or see what you’ll get:
Jump to:
Scroll for the full guide ↓
  • 🎥 A step-by-step video walkthrough
  • 🧰 A tools & supplies checklist
  • 📋 Clear step-by-step instructions
  • ⚠️ Safety notes + pro tips
  • 🧑‍🔧 Connections to local pros (if you want help)

Video

Don't Let This Be You

Estimated Time:

Difficulty:

Tools

    Materials

      Steps

        Safety Notes

          Pro Tips

            Did this tutorial help?

            Send me this Do It Yourself tutorial via email

            Need a pro

            Need a pro?

            Tell us what went wrong and we’ll connect you with a trusted local pro.

            Please enter your name.
            Enter a valid email.
            Enter a valid phone number.
            Enter your ZIP/postcode.
            Pick a trade.
            Tell us a bit about the issue.
            Image must be under 3 MB.
            By sending, you agree to our Terms and Privacy.
            Free quotes No spam Cancel anytime
            diy4uai21-20
            Drill with bits, Wire stripper, Screwdriver, Measuring tape, Utility knife, Multimeter, Zip tie tool
            Disconnect the battery before working with electrical connections., Use a fuse to protect the circuit from shorts or overloads., Avoid routing wires near hot or moving parts., Wear gloves and eye protection when drilling or stripping wires.
            Clean the truck bed surface using alcohol wipes to ensure proper adhesion of the LED strips. 
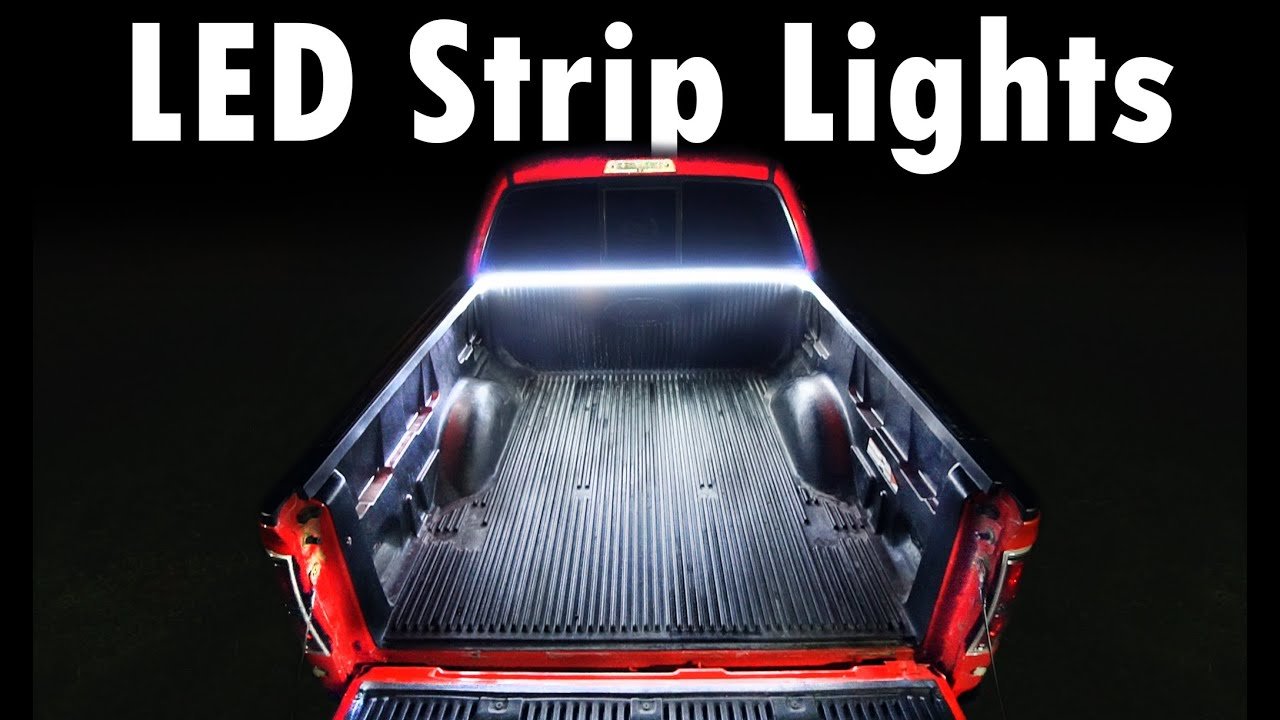
Plan the placement of the LED strips along the bed rails or under the bed lip for optimal lighting. Measure the areas where the LED strips will be installed and cut them only at designated cut points if needed. Peel the backing off the double-sided tape and firmly press the LED strips into place along the planned areas. Route the LED strip wiring toward the truck’s power source, avoiding sharp edges and moving parts. Use zip ties to secure the wiring along the frame or under the bed to prevent sagging or damage. Strip the wire ends and use wire connectors to join the LED wires to the power and ground wires. Install an inline fuse on the power wire close to the battery or fuse box for circuit protection. Connect the power wire to a 12V source such as the battery or an auxiliary fuse tap, and ground the negative wire to the chassis. Use a multimeter to verify power and ground connections before powering on the lights. Turn on the truck or accessory power and test the LED lights to ensure they illuminate properly. Secure any remaining loose wiring with zip ties and electrical tape to prevent movement or wear. Double-check all connections for tightness and proper insulation to avoid shorts or failures. Ensure the LED strips are firmly adhered and not peeling at the edges. Tidy up the wiring path and trim excess zip tie ends for a clean installation. Label the fuse if added to the fuse box for future reference. Avoid routing wires near hot engine components or exhaust parts. Confirm that the LED lights turn off with the vehicle or switch to prevent battery drain. Store any unused LED strip sections or connectors for future repairs. Dispose of packaging and used materials responsibly.
            LED light strip kit, Double-sided automotive tape, Wire connectors, Electrical tape, Zip ties, Inline fuse, Alcohol wipes
            Medium
            Use heat shrink tubing over connectors for added durability., Test LED strips before final installation to confirm functionality., Install a switch for manual control of the lights., Choose waterproof LED strips for better longevity in truck beds.
            90
            https://www.youtube.com/watch?v=77t1UW4Qc7g
            if( length(trim() > 0; trim(); "https://youtu.be/9n6em1ZBOvI?si=rWqitTC3UuZtYa7y" )