Measure the height and width of the window glass using a measuring tape.
Cut the window tint film slightly larger than the window using a utility knife and straight edge.
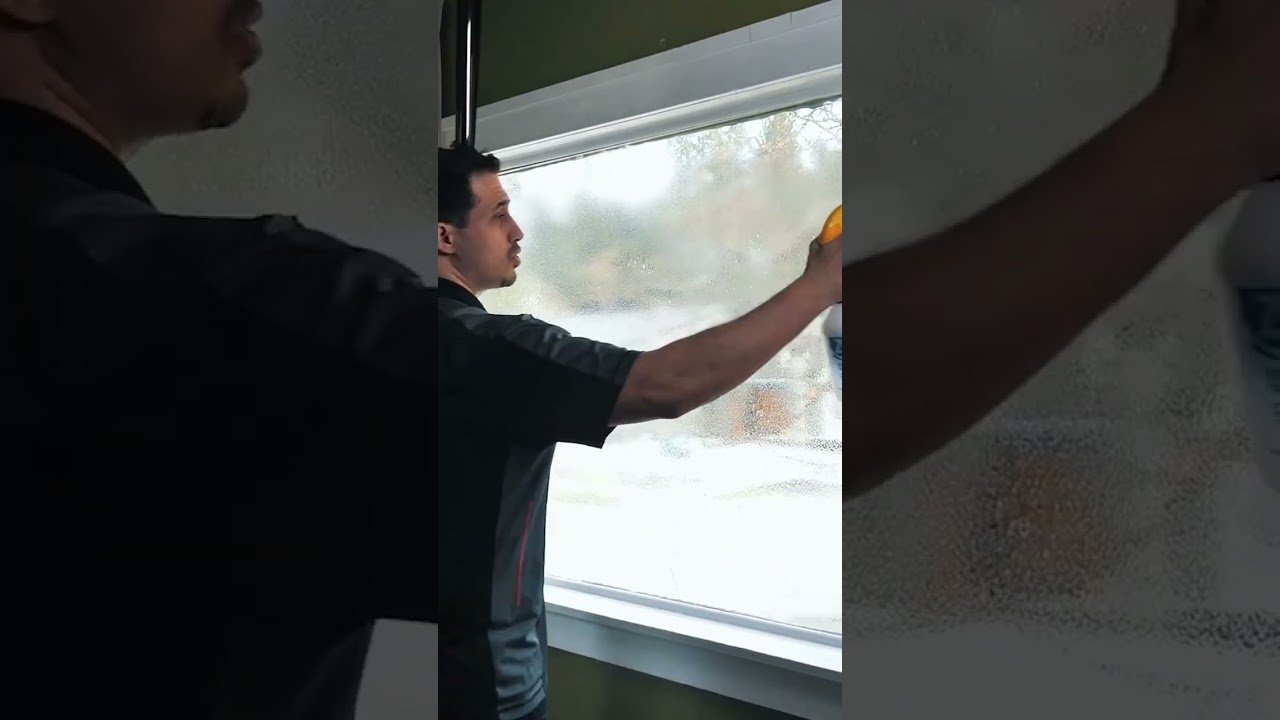
Clean the window thoroughly with a lint-free cloth and soapy water to remove all dirt and debris.
Spray a generous amount of soapy water solution onto the window surface to allow repositioning of the film.
Carefully peel the backing off the tint film, exposing the adhesive side without creasing the film.
Align and place the adhesive side of the film onto the wet window surface starting from the top.
Use a squeegee to press the film onto the glass, starting from the center and moving outward to remove water and air.
Trim the excess film around the window edges using a sharp utility knife guided by a straight edge.
Continue smoothing the film with the squeegee to eliminate any remaining bubbles or wrinkles.
Use a heat gun on low setting to gently warm the film and help it conform to the glass surface.
Inspect the film for any imperfections or trapped debris and smooth them out if possible.
Allow the film to cure for at least 24 hours without touching or cleaning it.
Avoid opening the window during the curing period to prevent peeling or shifting.
Check the film edges to ensure they are sealed and not lifting.
Clean the window surface gently with a soft cloth after curing is complete.
Repeat the process for additional windows, ensuring consistent alignment and trimming.
Work in a dust-free environment to prevent particles from getting trapped under the film.
Wear gloves to avoid fingerprints on the adhesive side of the film.
Ensure the room temperature is moderate to help the film adhere properly.
Dispose of backing paper and trimmed film responsibly to avoid mess.