How do I fix a Shutoff valve leaking from the stem

Check out your helpful results below!
Jump to a section, or see what you’ll get:
Jump to:
Scroll for the full guide ↓
  • 🎥 A step-by-step video walkthrough
  • 🧰 A tools & supplies checklist
  • 📋 Clear step-by-step instructions
  • ⚠️ Safety notes + pro tips
  • 🧑‍🔧 Connections to local pros (if you want help)

Video

Don't Let This Be You

Estimated Time:

Difficulty:

Tools

    Materials

      Steps

        Safety Notes

          Pro Tips

            Did this tutorial help?

            Send me this Do It Yourself tutorial via email

            Need a pro

            Need a pro?

            Tell us what went wrong and we’ll connect you with a trusted local pro.

            Please enter your name.
            Enter a valid email.
            Enter a valid phone number.
            Enter your ZIP/postcode.
            Pick a trade.
            Tell us a bit about the issue.
            Image must be under 3 MB.
            By sending, you agree to our Terms and Privacy.
            Free quotes No spam Cancel anytime
            diy4uai21-20
            Adjustable wrench, Flathead screwdriver, Pliers, Rag or towel
            Always shut off the main water supply before working on plumbing., Use tools carefully to avoid damaging valve components., Ensure the area is dry to prevent slipping or water damage.
            Turn off the main water supply to prevent water flow during the repair. Open the leaking shutoff valve to relieve any pressure and drain residual water. Use a flathead screwdriver to remove the screw holding the valve handle in place. Pull off the handle to expose the packing nut underneath. Use an adjustable wrench to loosen the packing nut without removing it completely. Inspect the packing material around the valve stem for wear or damage. Remove old packing material using pliers or a small screwdriver if necessary. Wrap new packing string around the valve stem or insert a new packing washer. Apply a small amount of plumber's grease to the stem to ensure smooth operation. Re-tighten the packing nut securely with the adjustable wrench. Reattach the valve handle and secure it with the screw. Turn the valve on and off a few times to ensure smooth movement. Turn the main water supply back on slowly. 
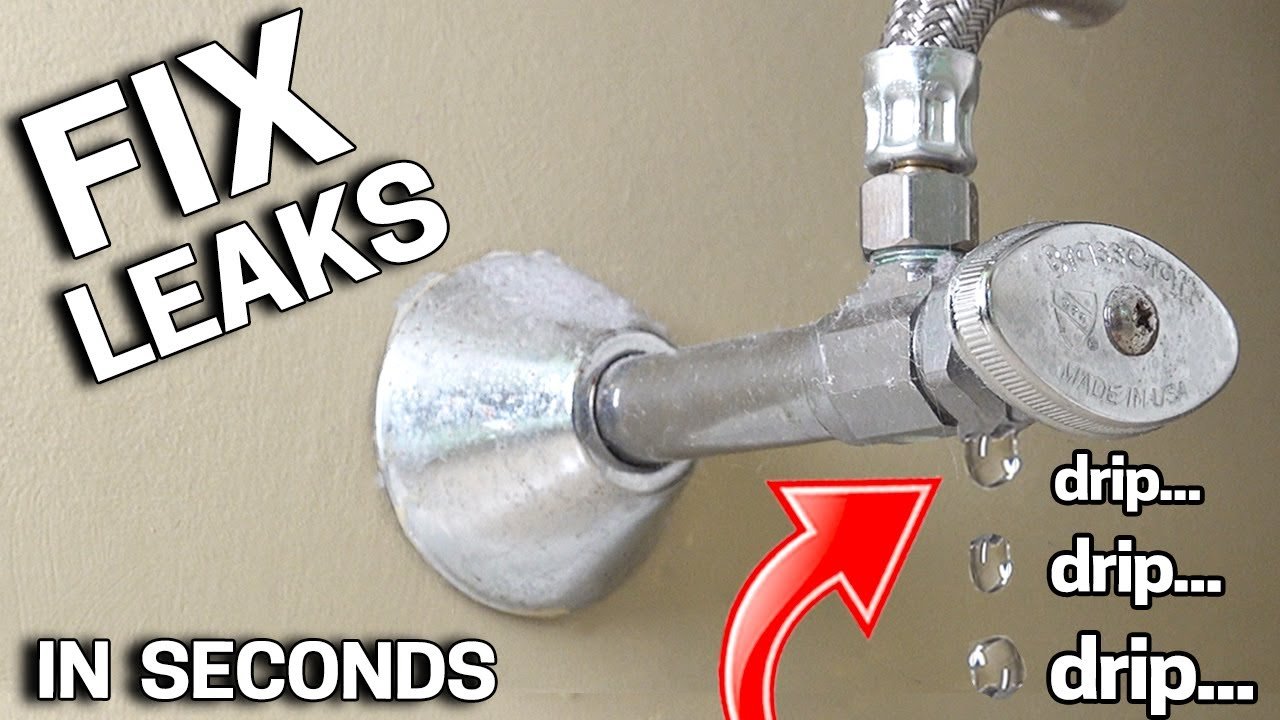
Check the valve stem area for any signs of continued leaking. If leaking persists, slightly tighten the packing nut further. Wipe the area dry with a rag to monitor for new leaks. Do not overtighten the packing nut to avoid damaging the valve. Ensure the valve is functioning properly without resistance. Clean up any tools and materials used during the repair. Monitor the valve over the next day to confirm the leak is resolved.
            Packing washer or packing string, Plumber's grease, Teflon tape
            Medium
            Use Teflon tape on the packing nut threads for extra leak protection., Keep spare packing washers on hand for future repairs., If the valve is old or corroded, consider replacing it entirely.
            30
            https://www.youtube.com/watch?v=6ikueoPpwRo
            if( length(trim() > 0; trim(); "https://youtu.be/9n6em1ZBOvI?si=rWqitTC3UuZtYa7y" )