Check nearby outlets and lights to determine if the issue is isolated or part of a larger power outage.
Locate and press the reset button on any GFCI outlets in the same room or nearby areas.
Inspect the circuit breaker panel and reset any tripped breakers by switching them fully off and then on.
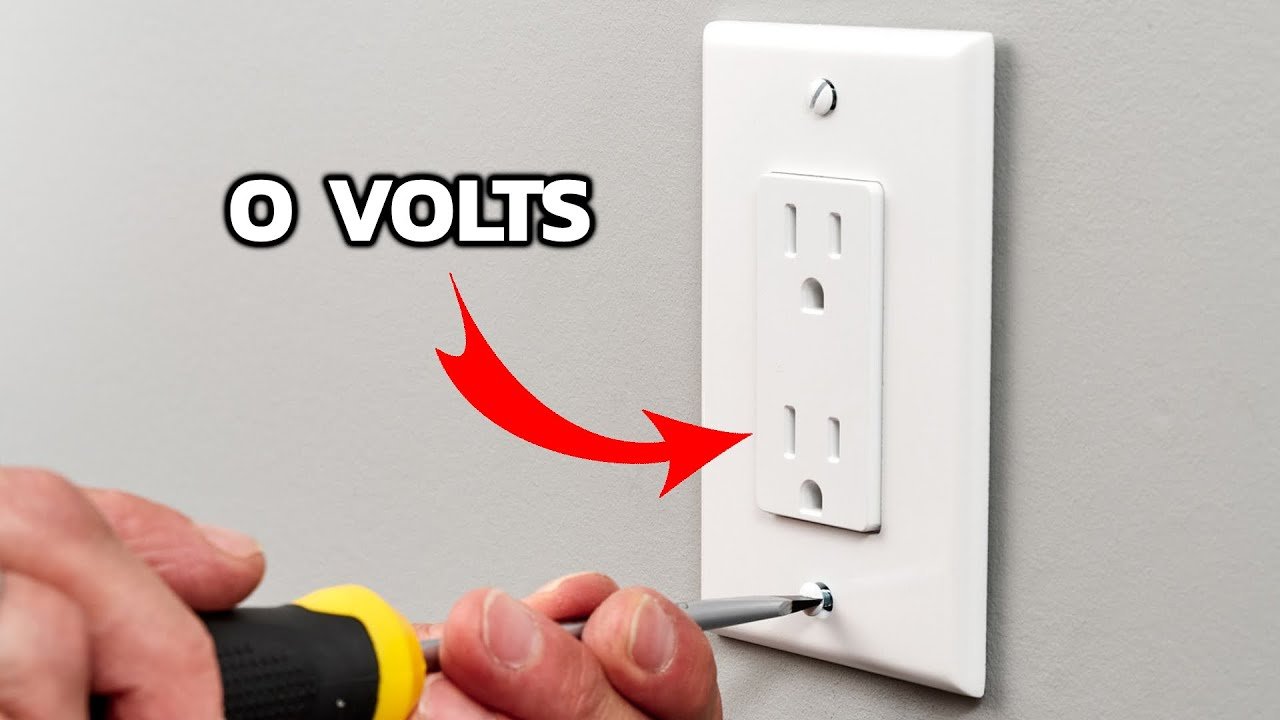
Use a non-contact voltage tester to check if the outlet is receiving power before proceeding.
Turn off the power to the outlet at the breaker panel and verify with the tester that the outlet is de-energized.
Unscrew and remove the outlet cover plate using a flathead screwdriver.
Carefully pull the outlet from the electrical box to expose the wiring behind it.
Inspect all wire connections for looseness, corrosion, or signs of burning or damage.
Tighten any loose terminal screws and ensure wires are securely connected to the outlet.
If the outlet appears damaged or burnt, disconnect the wires and replace it with a new one.
Connect the wires to the new outlet, matching hot, neutral, and ground wires to the correct terminals.
Secure the outlet back into the box and reattach the cover plate with screws.
Turn the power back on at the breaker panel and confirm the outlet is functioning properly.
Test the outlet again using a voltage tester or by plugging in a small appliance.
If the outlet still does not work, consider checking upstream outlets or consulting an electrician.
Ensure all tools and materials are removed from the work area after completion.
Label any breakers if they were unclear to help with future troubleshooting.
Do not work on electrical components unless the power is verified off with a tester.
Use insulated tools and avoid touching bare wires even when power is off.
If unsure about any step, stop and consult a licensed electrician.