How to lay floor tile correctly

Check out your helpful results below!
Jump to a section or preview what’s included.
Jump to:
Scroll for the full guide ↓
  • 🎥 A step-by-step video walkthrough
  • 🧰 A tools & supplies checklist
  • 📋 Clear step-by-step instructions
  • ⚠️ Safety notes + pro tips
  • 🧑‍🔧 Optional help from a local pro

Video

Don't Let This Be You

Estimated Time:

Difficulty:

Tools

    Materials

      Steps

        Safety Notes

          Pro Tips

            Did this tutorial help?

            Send me this Do It Yourself tutorial via email

            YouTube thumbnail ywpRn7sWdRs

            Need help from a local pro?

            Get free quotes for this job without leaving DIY4UAI.

            Get free quotes

            Tape measure, Chalk line, Tile cutter, Notched trowel, Rubber mallet, Level, Tile spacers, Grout float, Sponge, Bucket
            Wear gloves and eye protection when cutting tiles., Ensure proper ventilation when using mortar and grout., Use knee pads to protect your knees during installation., Turn off power tools when not in use., Keep the work area clear to avoid tripping hazards.
            Measure the total floor area to estimate how many tiles and materials are needed. Clean the subfloor thoroughly and ensure it is level and free of debris or moisture. Install cement backer board over wood subfloors using screws, ensuring all seams are taped. Dry-fit tiles starting from the center to plan layout and minimize small edge cuts. Snap chalk lines to mark the center of the room and guide straight tile placement. Mix thin-set mortar according to the manufacturer's instructions until smooth. 
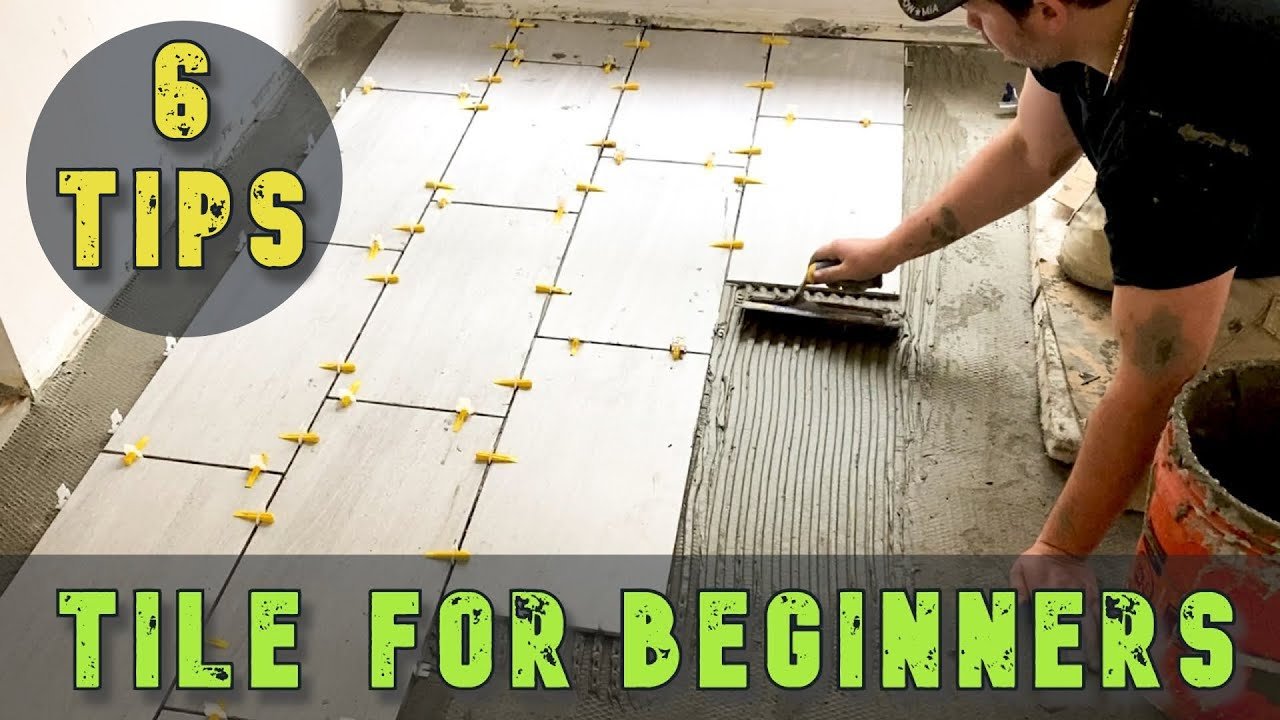
Spread mortar on a small section using a notched trowel held at a 45-degree angle. Press the first tile into the mortar and twist slightly to ensure good adhesion. Place tile spacers between tiles to maintain even grout lines. Continue laying tiles, checking alignment frequently with a level and straightedge. Use a tile cutter or wet saw to trim tiles to fit along walls and corners. Tap tiles gently with a rubber mallet to level them with adjacent tiles. Allow the mortar to cure for at least 24 hours before walking on the tiles. Remove tile spacers and mix grout to a peanut butter consistency. Apply grout using a rubber float, pressing it into the joints at a 45-degree angle. Wipe off excess grout with a damp sponge, rinsing frequently to avoid haze. Allow grout to cure for the time recommended by the manufacturer. Buff the tile surface with a dry cloth to remove any remaining grout haze. Apply a tile and grout sealer to protect against moisture and stains. Allow the sealer to dry completely before using the tiled area.
            Floor tiles, Thin-set mortar, Grout, Tile sealer, Backer board, Screws, Primer (if needed)
            Medium
            Buy 10% extra tile to account for cuts and breakage., Start tiling from the center of the room for a balanced look., Use a laser level for more accurate layout lines., Clean grout haze before it fully dries to avoid scrubbing later., Seal grout lines annually to maintain appearance and durability.
            480
            https://www.youtube.com/watch?v=ywpRn7sWdRs