How to lay a laminate floor

Check out your helpful results below!
Jump to a section or preview what’s included.
Jump to:
Scroll for the full guide ↓
  • 🎥 A step-by-step video walkthrough
  • 🧰 A tools & supplies checklist
  • 📋 Clear step-by-step instructions
  • ⚠️ Safety notes + pro tips
  • 🧑‍🔧 Optional help from a local pro

Video

Don't Let This Be You

Estimated Time:

Difficulty:

Tools

    Materials

      Steps

        Safety Notes

          Pro Tips

            Did this tutorial help?

            Send me this Do It Yourself tutorial via email

            YouTube thumbnail LJvcMp 21VE

            Need help from a local pro?

            Get free quotes for this job without leaving DIY4UAI.

            Get free quotes

            Tape measure, Utility knife, Rubber mallet, Pull bar, Spacers, Jigsaw, Tapping block, Pencil, Square, Safety glasses
            Wear safety glasses when cutting planks., Use hearing protection when operating power tools., Ensure the subfloor is dry to prevent mold or warping., Keep fingers clear when using tapping block and mallet., Use a dust mask when cutting laminate to avoid inhaling particles.
            Measure the length and width of the room to calculate the square footage needed for laminate flooring. Clean the subfloor thoroughly and ensure it is dry, level, and free of debris or protrusions. Roll out the underlayment across the floor, trimming to fit and taping seams as needed. Plan your plank layout to avoid narrow pieces at walls and to stagger joints for strength and appearance. Place spacers along all walls to maintain a 1/4-inch expansion gap around the perimeter. Cut the first row of planks to length using a jigsaw, ensuring the cut edge faces the wall. Lay the first row of planks with the tongue side facing the wall, clicking them together end to end. Begin the second row with a plank cut to at least 12 inches shorter than the first to stagger joints. 
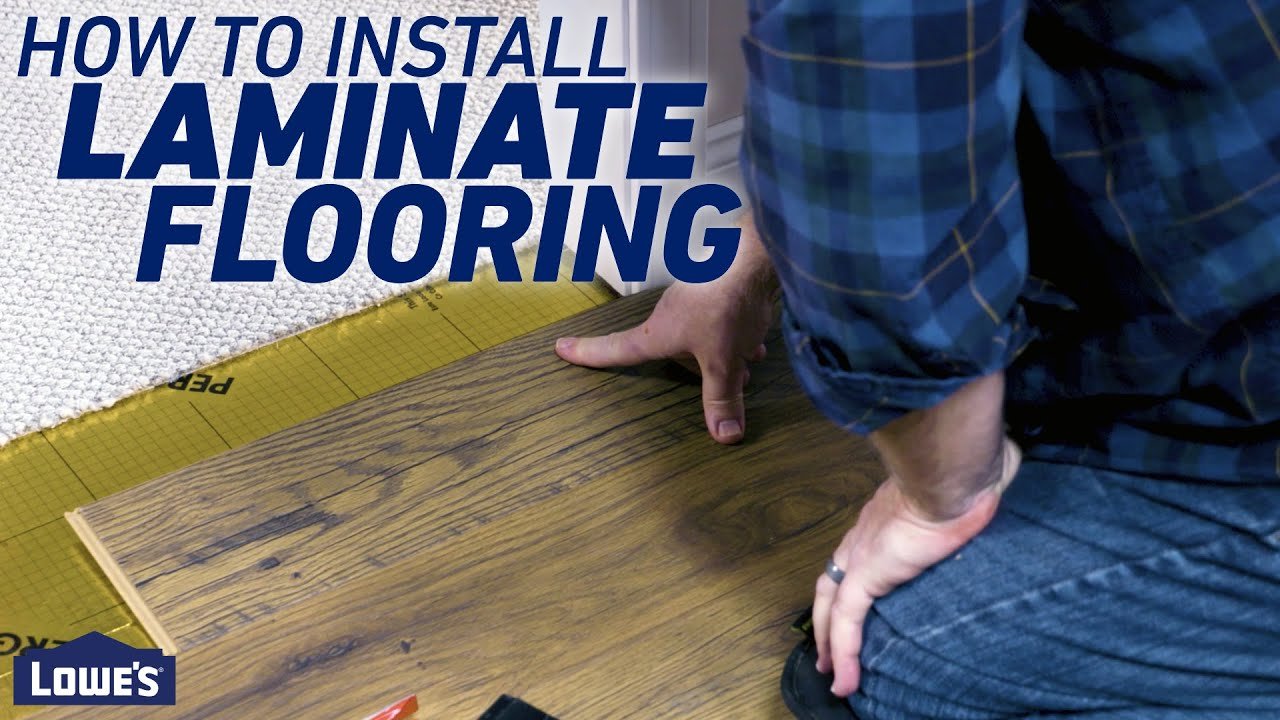
Angle and click each plank into the previous row, ensuring a tight fit with no gaps. Use a tapping block and rubber mallet to gently tap planks into place without damaging edges. Measure and cut planks at the end of each row to fit, maintaining the expansion gap. Use a pull bar to snugly fit planks in tight spaces near walls or doorways. Continue laying rows, maintaining staggered joints and checking alignment as you go. Install transition strips where the laminate meets other flooring types or thresholds. Cut and install quarter round or baseboard molding to cover the expansion gap along walls. Remove all spacers once the flooring and trim are installed. Vacuum or sweep the floor to remove dust and debris from installation.
            Laminate flooring planks, Underlayment, Moisture barrier (if needed), Flooring adhesive (if required), Transition strips, Quarter round or baseboard molding
            Medium
            Acclimate laminate planks in the room for 48 hours before installation., Use a chalk line to keep your first row straight., Mix planks from multiple boxes to vary pattern and color., Label cut pieces to reuse efficiently in future rows., Check for squeaks or uneven spots in the subfloor before starting.
            360
            https://www.youtube.com/watch?v=LJvcMp_21VE