Clear the room and ensure the subfloor is clean, dry, and level before starting installation.
Use a tape measure to measure the room's length and width, then plan the layout for aesthetic and minimal cuts.
Roll out the underlayment across the entire floor area, aligning edges and trimming excess as needed.
Determine the direction to lay the planks, typically parallel to the longest wall or natural light source.
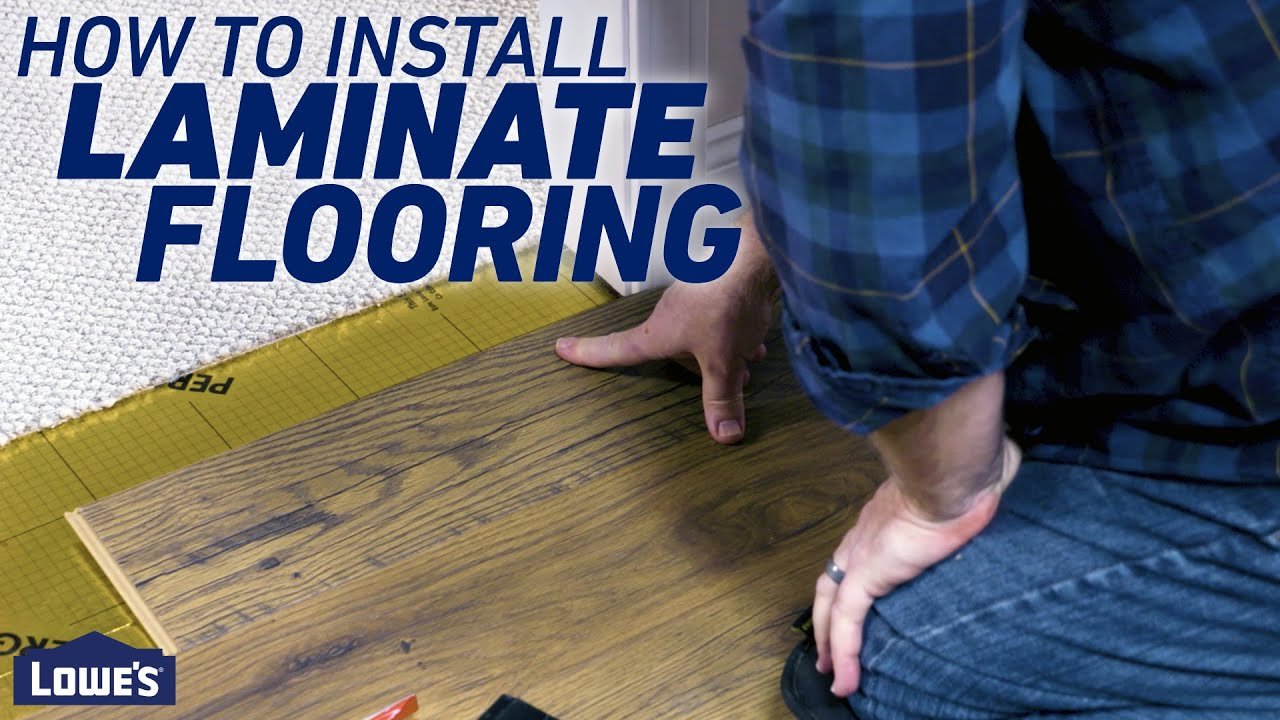
Lay the first row of planks along the starting wall, using spacers to maintain a 1/4 inch expansion gap from the wall.
Connect each new plank to the previous one by clicking or locking the tongue and groove system, ensuring tight fit.
Place spacers between the planks and walls to keep consistent expansion gaps around the perimeter.
Measure and cut planks to fit around obstacles and at the end of rows using a saw, ensuring a snug fit.
Install transition strips at doorways and where the laminate meets other flooring types, securing with screws or adhesive.
Attach baseboards or molding over the expansion gaps to cover the spacers and give a finished look.
Use a broom or vacuum to clean the new floor thoroughly, removing dust and debris.
Inspect the entire floor for gaps, loose planks, or other issues, making adjustments as necessary.
Ensure all tools and materials are stored safely, and dispose of waste properly.
Allow the floor to settle for 24 hours before moving heavy furniture onto it.