How to build a wood planter

Check out your helpful results below!
Jump to a section or preview what’s included.
Jump to:
Scroll for the full guide ↓
  • 🎥 A step-by-step video walkthrough
  • 🧰 A tools & supplies checklist
  • 📋 Clear step-by-step instructions
  • ⚠️ Safety notes + pro tips
  • 🧑‍🔧 Optional help from a local pro

Video

Don't Let This Be You

Estimated Time:

Difficulty:

Tools

    Materials

      Steps

        Safety Notes

          Pro Tips

            Did this tutorial help?

            Send me this Do It Yourself tutorial via email

            Get help from a local professional

            Need help from a local pro?

            Get free quotes for this job without leaving DIY4UAI.

            Get free quotes

            Saw, Drill, Measuring tape, Sander, Clamps, Screwdriver, Pencil
            Always wear safety goggles when cutting wood., Use gloves to protect hands from splinters and sharp tools., Ensure the workspace is clear of obstructions before operating tools., Keep fingers away from saw blades and drill bits., Work in a well-ventilated area when applying stain or paint., Disconnect power tools when not in use., Secure wood firmly before cutting or drilling.
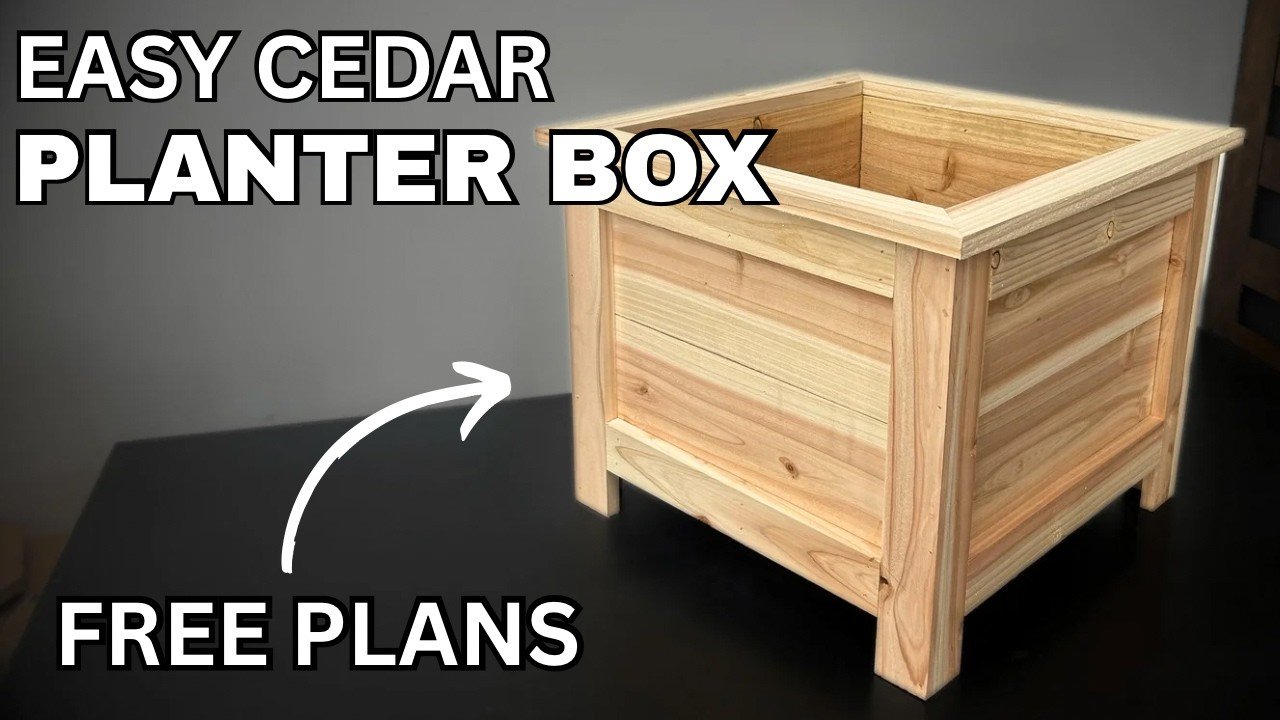
            Use measuring tape and pencil to mark cut lines on wood planks according to your desired planter dimensions. Cut the wood planks carefully with a saw, ensuring straight and clean edges. Sand all cut edges and surfaces thoroughly to prevent splinters and ensure smooth finish. Position the side panels to form a box shape and drill pilot holes before screwing them together with the drill. Attach the bottom panel to the assembled sides, ensuring all corners are square and secure. Apply a weatherproof wood stain or outdoor paint to protect the planter from the elements, and let it dry completely. Line the interior of the planter with landscape fabric to prevent soil from leaking out and to protect the wood. Staple or glue the fabric securely along the edges, ensuring full coverage. If drainage is needed, drill several holes in the bottom panel before assembly. Place the finished planter in your desired location, fill with soil, and plant your favorite plants. Check for stability and add additional support if necessary. Regularly inspect and reapply stain or paint to maintain weather resistance.
            Wood planks, Wood screws, Wood stain or paint, Landscape fabric, Sandpaper, Wood glue
            Medium
            Use pressure-treated wood for longer durability outdoors., Pre-drill screw holes to prevent wood splitting., Apply multiple coats of stain for better weather protection., Add feet or casters for mobility and drainage., Use a square to ensure corners are perfectly aligned., Choose rot-resistant wood types like cedar or redwood for longevity., Line the interior with a plastic sheet for extra moisture protection.
            120
            https://www.youtube.com/watch?v=mKVTWhakFYE