Choose a mounting location that is easily accessible from the driver or passenger seat.
Inspect the chosen area to ensure there are no wires, fuel lines, or structural components behind it.
Hold the mounting bracket in place and mark the screw hole positions with a pencil or marker.
Put on safety glasses before drilling to protect your eyes from debris.
Drill small pilot holes at the marked points to guide the mounting screws.
Align the bracket with the pilot holes and insert self-tapping screws or bolts through the bracket.
Use a screwdriver or socket wrench to tighten the screws securely into place.
Apply thread locker to the bolts if desired for added vibration resistance.
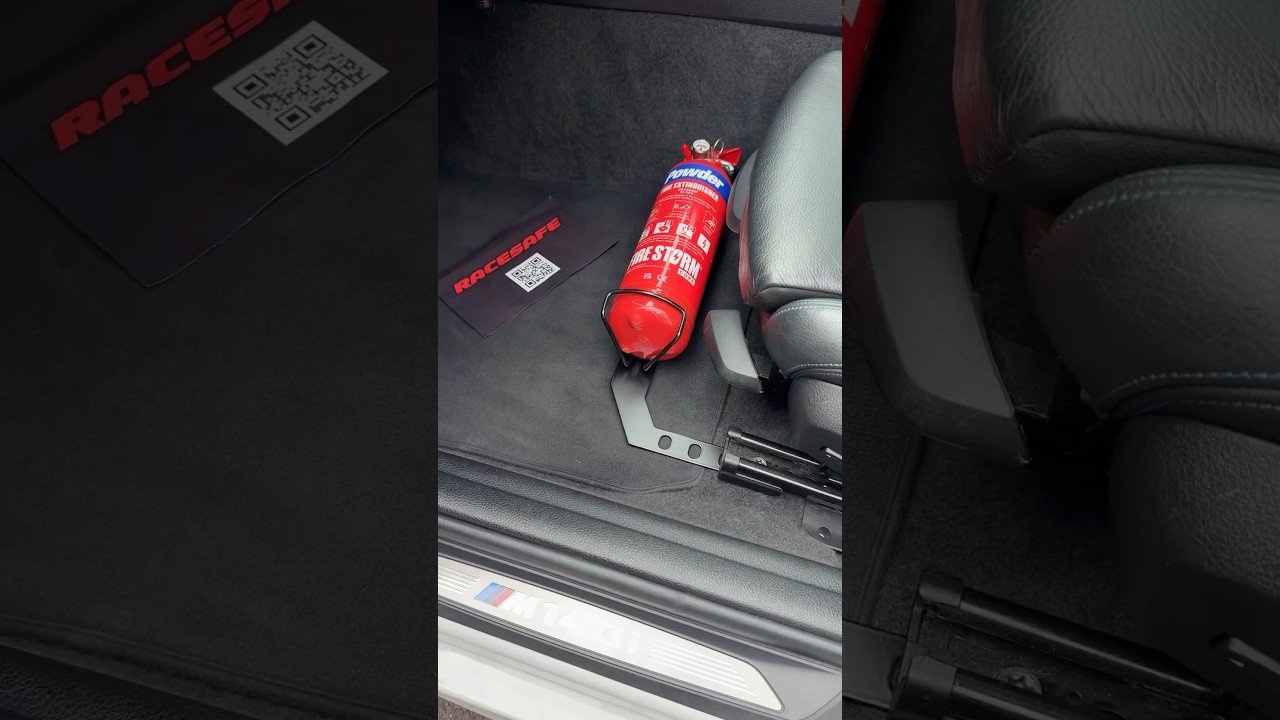
Slide the fire extinguisher into the bracket and secure it using the provided strap or latch.
Shake the extinguisher gently to confirm it is firmly held and won’t rattle or fall.
Sit in the driver’s seat and reach for the extinguisher to ensure it is within easy reach.
Check that the extinguisher label and gauge are visible and readable.
Avoid mounting the extinguisher in a location where it could become a projectile in a crash.
Make sure the extinguisher does not interfere with seat movement or passenger comfort.
If mounting to plastic trim, reinforce the area with a metal backing plate if needed.
Double-check all fasteners for tightness after installation is complete.
Store any tools and clean up debris from the drilling process.
Review the fire extinguisher’s expiration date and inspection tag for future maintenance.