Fix a Leaking Faucet

Check out your helpful results below!
Jump to a section or preview what’s included.
Jump to:
Scroll for the full guide ↓
  • 🎥 A step-by-step video walkthrough
  • 🧰 A tools & supplies checklist
  • 📋 Clear step-by-step instructions
  • ⚠️ Safety notes + pro tips
  • 🧑‍🔧 Optional help from a local pro

Video

Don't Let This Be You

Estimated Time:

Difficulty:

Tools

    Materials

      Steps

        Safety Notes

          Pro Tips

            Did this tutorial help?

            Send me this Do It Yourself tutorial via email

            YouTube thumbnail RUX3U6CIRXI

            Need help from a local pro?

            Get free quotes for this job without leaving DIY4UAI.

            Get free quotes

            Adjustable wrench, Screwdriver set, Allen wrench, Plumber's tape, Bucket, Towel
            Always turn off water supply before disassembling the faucet., Verify water is completely off to avoid accidental spraying., Use proper tools to avoid damaging faucet components., Work in a dry area to prevent slipping or electrical hazards.
            Turn off the water supply valves under the sink and verify water is off by opening the faucet. Place a towel and bucket under the sink to catch any residual water. Plug the sink drain to prevent small parts from falling in. 
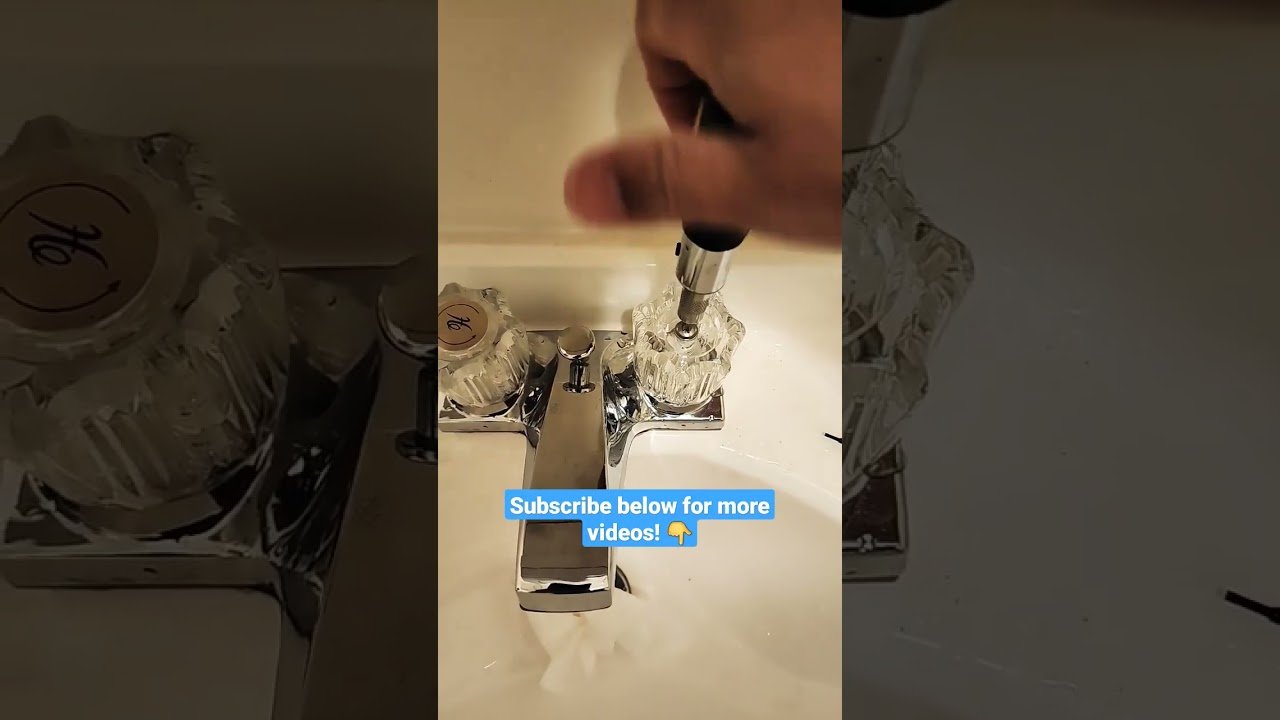
Use a screwdriver or Allen wrench to remove the faucet handle screw and lift off the handle. Unscrew the retaining nut using an adjustable wrench to access the cartridge or washer. Gently pull out the old cartridge or washer using pliers if necessary. Inspect the faucet body for mineral buildup or debris and clean with a cloth. Compare the old cartridge or washer with the replacement to ensure a proper match. Apply plumber's grease to the new cartridge or washer to ease installation and prevent wear. Insert the new cartridge or washer into the faucet body, aligning it properly. Reinstall the retaining nut and tighten it securely without over-tightening. Reattach the faucet handle and secure it with the screw using the appropriate tool. Ensure all parts are properly aligned and tightened before restoring water. Slowly turn on the water supply valves and check for any leaks around the faucet. Open and close the faucet several times to ensure smooth operation. Wipe down the faucet and surrounding area to remove any grease or debris. Dispose of the old cartridge or washer properly. Remove the towel and bucket from under the sink. Unplug the sink drain and ensure it is clear of debris. Double-check that the faucet is no longer leaking and functions correctly.
            Replacement faucet cartridge or washer, Plumber's grease
            Medium
            Take a photo of the faucet assembly before disassembly for reference., Bring the old cartridge or washer to the store to ensure an exact match., Use plumber's grease to extend the life of moving parts., Label parts as you remove them to simplify reassembly.
            45
            https://www.youtube.com/watch?v=RUX3U6CIRXI