Ensure the vehicle is turned off and the keys are removed from the ignition to prevent electrical accidents.
Open the hood and locate the headlight assembly on the front of your vehicle.
Use a socket wrench or screwdriver to disconnect the negative terminal of the battery, ensuring safety during electrical work.
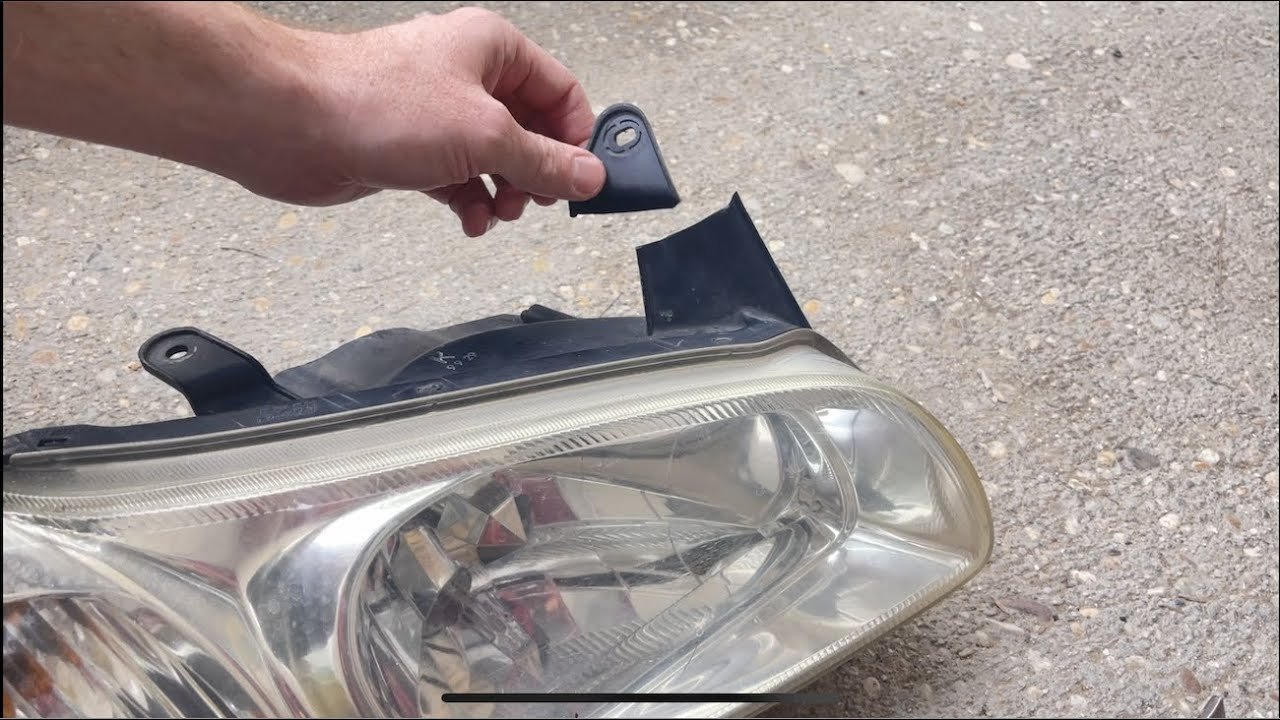
Remove the headlight cover or clips holding the assembly in place, using appropriate tools if necessary.
Carefully pull out the damaged or burnt-out headlight bulb, avoiding touching the glass with bare hands.
Insert the new headlight bulb into the socket, making sure it is seated properly and securely.
Reattach the headlight assembly and secure all clips or screws tightly to prevent movement.
Reconnect the negative terminal of the battery and tighten it firmly.
Turn on your vehicle and switch on the headlights to verify the new bulb is functioning correctly.
Close the hood securely, ensuring all tools and old parts are removed from the engine bay.
If the headlight still doesn't work, check the fuse and wiring connections for issues.
Use dielectric grease on the bulb connector to prevent corrosion and ensure a good connection.
Always wear gloves and protective eyewear when handling bulbs to avoid injury.