how to replace the hard drive in a pc

Check out your helpful results below!
Jump to a section, or see what you’ll get:
Jump to:
Scroll for the full guide ↓
  • 🎥 A step-by-step video walkthrough
  • 🧰 A tools & supplies checklist
  • 📋 Clear step-by-step instructions
  • ⚠️ Safety notes + pro tips
  • 🧑‍🔧 Connections to local pros (if you want help)

Video

Don't Let This Be You

Estimated Time:

Difficulty:

Tools

    Materials

      Steps

        Safety Notes

          Pro Tips

            Did this tutorial help?

            Send me this Do It Yourself tutorial via email

            Need a pro

            Need a pro?

            Tell us what went wrong and we’ll connect you with a trusted local pro.

            Please enter your name.
            Enter a valid email.
            Enter a valid phone number.
            Enter your ZIP/postcode.
            Pick a trade.
            Tell us a bit about the issue.
            Image must be under 3 MB.
            By sending, you agree to our Terms and Privacy.
            Free quotes No spam Cancel anytime
            diy4uai21-20
            Phillips screwdriver, Anti-static wrist strap, SATA data cable, SATA power cable, Cloning software (optional)
            Always unplug the PC before opening the case., Use an anti-static wrist strap to prevent static damage., Handle drives by the edges to avoid damaging components., Ensure the PC is powered off and unplugged before working inside., Be cautious of sharp edges inside the case., Verify all connections are secure before powering on., Do not force connectors or drives into place.
            Ensure the PC is completely powered off and unplug all cables to prevent electrical shock. Remove the side panel of the PC case using a Phillips screwdriver to access internal components. Wear an anti-static wrist strap and attach it to a grounded surface to prevent static damage. 
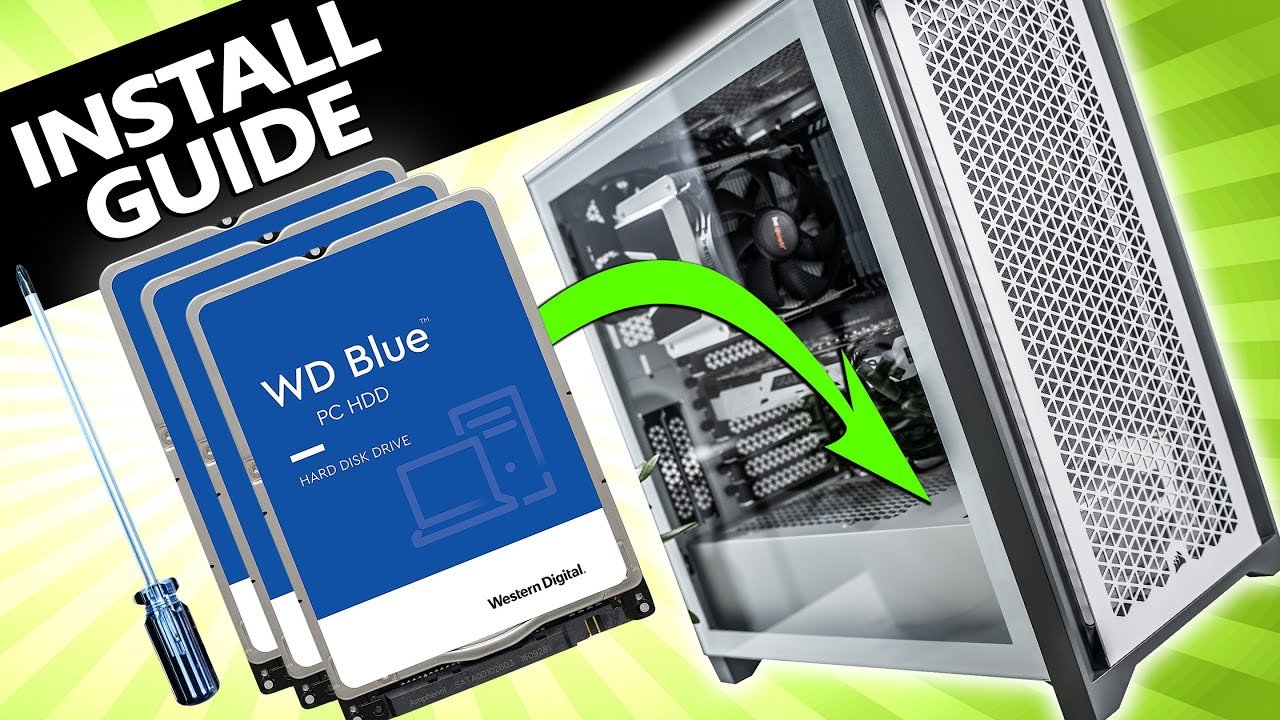
Locate the existing hard drive inside the case, usually mounted in a drive bay or bracket. Carefully disconnect the SATA data cable and SATA power cable from the old hard drive. Unscrew and remove the old hard drive from its mounting bracket or bay. Insert the new hard drive into the same mounting bracket or bay, ensuring it is secure. Reconnect the SATA data cable and SATA power cable to the new hard drive, ensuring firm connections. Replace the side panel of the case and secure it with screws, then reconnect all external cables. Power on the PC and press the key to enter BIOS/UEFI setup (often F2, DEL, or ESC). Verify that the new hard drive is detected in BIOS; if not, recheck connections. Boot into your operating system or install a fresh OS on the new drive if needed. If cloning the old drive, use cloning software to transfer data before replacing the drive.
            New hard drive (HDD or SSD), Old hard drive (for cloning, optional)
            Medium
            Label cables to remember their connections during reassembly., Consider cloning your old drive to avoid reinstalling OS and programs., Upgrade to an SSD for faster performance., Check the new drive's compatibility with your motherboard., Use cable management to improve airflow inside the case.
            30
            https://www.youtube.com/watch?v=_D0bwTd0PHM
            https://youtu.be/9n6em1ZBOvI ​