Power off your iPhone 13 Pro completely and unplug any cables to ensure safety during repair.
Use a Pentalobe screwdriver to remove the screws at the bottom of the phone near the charging port.
Apply gentle heat around the edges of the screen using a heat gun or iOpener to soften the adhesive holding the glass.
Place a suction cup on the screen near the edge and gently pull to create a gap between the glass and the frame.
Insert plastic opening tools into the gap and carefully slide around the edges to separate the glass from the frame without cracking the display.
Disconnect the display connectors with a spudger, taking care not to damage the flex cables or connectors.
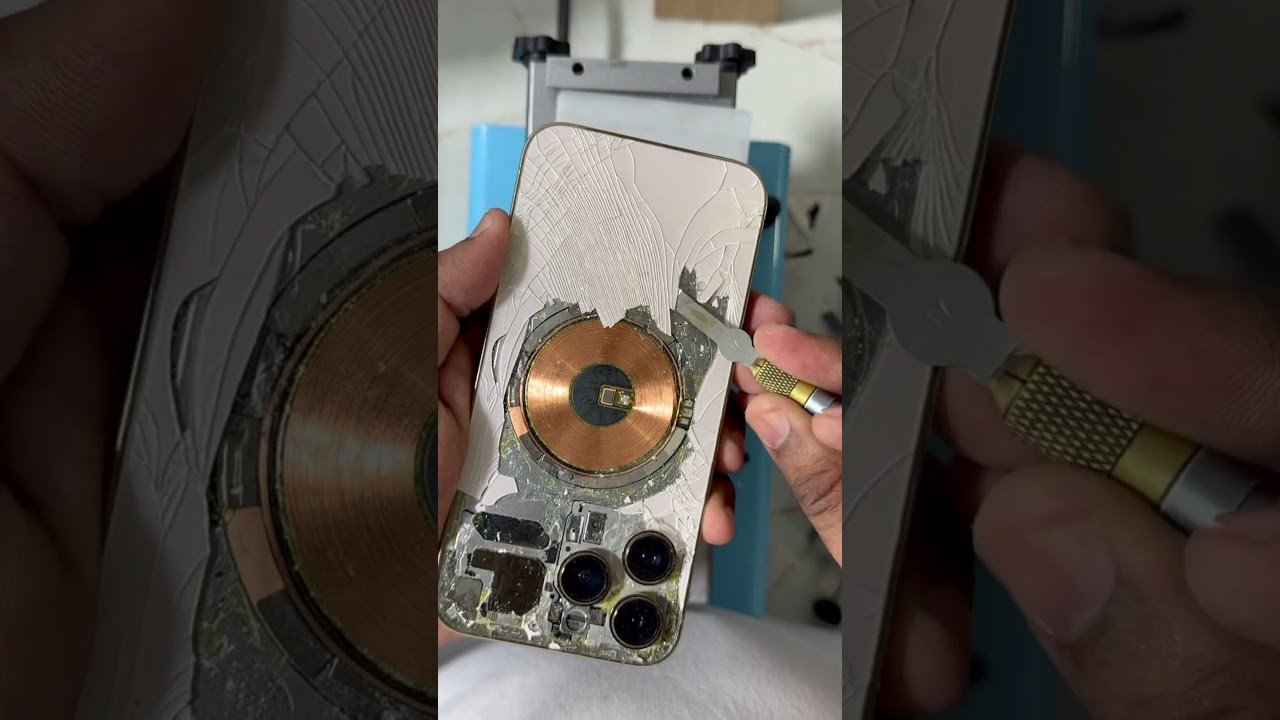
Carefully remove the broken glass pieces from the frame, ensuring no shards remain inside the device.
Clean the frame thoroughly with isopropyl alcohol and a lint-free cloth to remove any residual adhesive or debris.
Apply new double-sided adhesive tape around the edges of the frame to secure the new glass properly.
Align the new glass panel precisely with the frame, then press firmly to ensure good adhesion and a seamless fit.
Reconnect the display connectors securely, making sure they are seated properly to avoid display issues.
Reassemble the phone by reversing the disassembly steps, replacing screws and ensuring all components are secure.
Power on the device, test the touchscreen and display for proper function, and check for any gaps or loose edges.