Caulking like a pro

Check out your helpful results below!
Jump to a section, or see what you’ll get:
Jump to:
Scroll for the full guide ↓
  • 🎥 A step-by-step video walkthrough
  • 🧰 A tools & supplies checklist
  • 📋 Clear step-by-step instructions
  • ⚠️ Safety notes + pro tips
  • 🧑‍🔧 Connections to local pros (if you want help)

Video

Don't Let This Be You

Estimated Time:

Difficulty:

Tools

    Materials

      Steps

        Safety Notes

          Pro Tips

            Did this tutorial help?

            Send me this Do It Yourself tutorial via email

            YouTube thumbnail spN77FVEtMk

            Need a pro?

            Tell us what went wrong and we’ll connect you with a trusted local pro.

            Please enter your name.
            Enter a valid email.
            Enter a valid phone number.
            Enter your ZIP/postcode.
            Pick a trade.
            Tell us a bit about the issue.
            Image must be under 3 MB.
            By sending, you agree to our Terms and Privacy.
            Free quotes No spam Cancel anytime
            diy4uai21-20
            Caulking gun, Utility knife, Painter's tape, Rubbing alcohol, Putty knife
            Work in a well-ventilated area., Wear gloves to avoid skin contact with caulk., Keep caulk away from open flames or heat sources., Use eye protection if splashing is possible., Ensure power tools are unplugged when not in use., Read and follow all manufacturer safety instructions.
            Turn off any water supply if caulking around sinks or tubs to prevent water intrusion. Clean the area with rubbing alcohol and a cloth to remove dirt, grease, and old caulk residue. Use painter's tape along the edges to create clean lines and prevent excess caulk spread. 
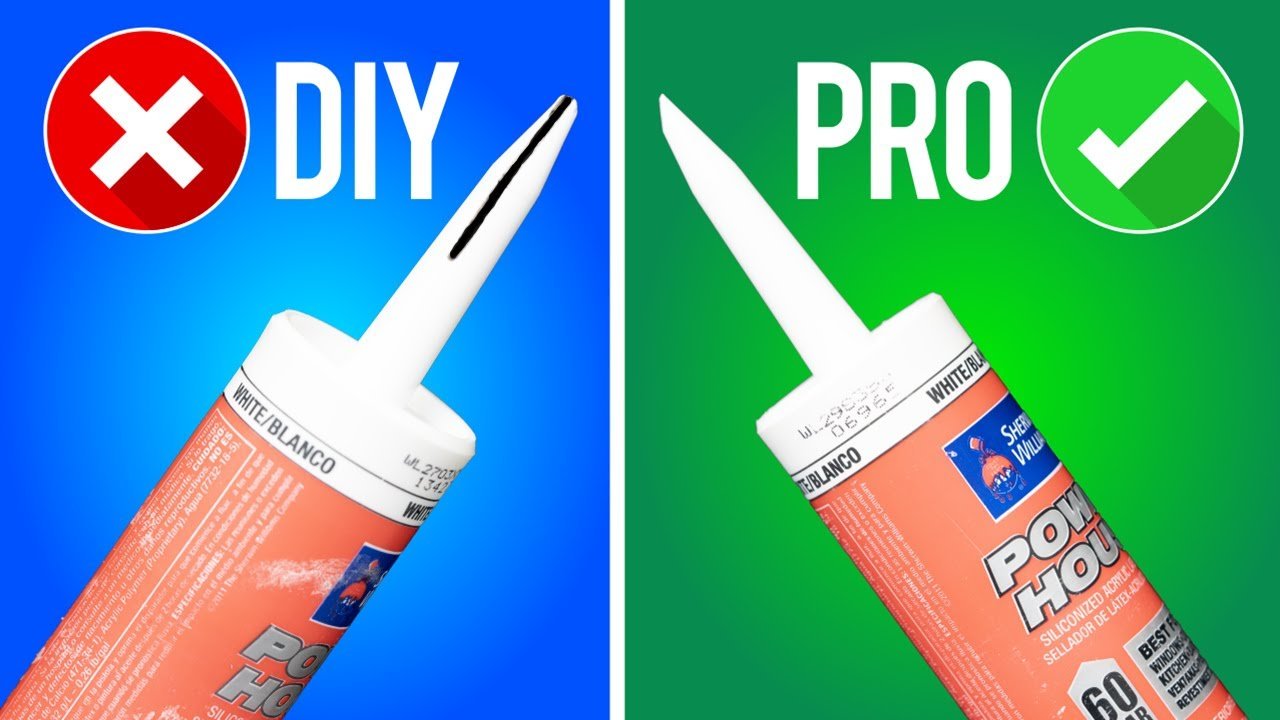
Cut the tip of the caulk tube at a 45-degree angle, opening the nozzle to the desired bead size. Insert the caulk tube into the caulking gun securely. Apply steady pressure on the trigger to dispense a continuous bead of caulk along the joint. Use a damp finger or a caulk smoothing tool to shape and smooth the bead for a professional finish. Carefully peel away the painter's tape immediately after smoothing before the caulk sets. Wipe away any excess caulk with a damp cloth for a clean look. Allow the caulk to cure as per manufacturer instructions before exposing to water or stress. Inspect the finished job for gaps or uneven areas and touch up if necessary. Clean tools with water or solvent as recommended by the caulk manufacturer.
            Silicone caulk, Painter's tape, Cleaning cloth, Water, Soap
            Practice on a scrap surface before caulking your project., Use painter's tape for sharp, clean lines., Choose the right caulk for your surface (silicone, latex, etc.)., Apply caulk in a continuous, steady motion., Keep a damp sponge nearby to clean excess caulk quickly., For large gaps, apply in layers, allowing each to cure.
            30
            https://www.youtube.com/watch?v=spN77FVEtMk
            https://youtu.be/9n6em1ZBOvI​
            YouTube thumbnail spN77FVEtMk