How to repair a bicycle chain

Check out your helpful results below!
Jump to a section or preview what’s included.
Jump to:
Scroll for the full guide ↓
  • 🎥 A step-by-step video walkthrough
  • 🧰 A tools & supplies checklist
  • 📋 Clear step-by-step instructions
  • ⚠️ Safety notes + pro tips
  • 🧑‍🔧 Optional help from a local pro

Video

Don't Let This Be You

Estimated Time:

Difficulty:

Tools

    Materials

      Steps

        Safety Notes

          Pro Tips

            Did this tutorial help?

            Send me this Do It Yourself tutorial via email

            YouTube thumbnail HpUCCrgugQE

            Need help from a local pro?

            Get free quotes for this job without leaving DIY4UAI.

            Get free quotes

            Chain tool, Needle-nose pliers, Rag
            Wear gloves to protect your hands., Ensure the bicycle is stable before starting.
            Shift the bicycle to the smallest gear to reduce chain tension. 
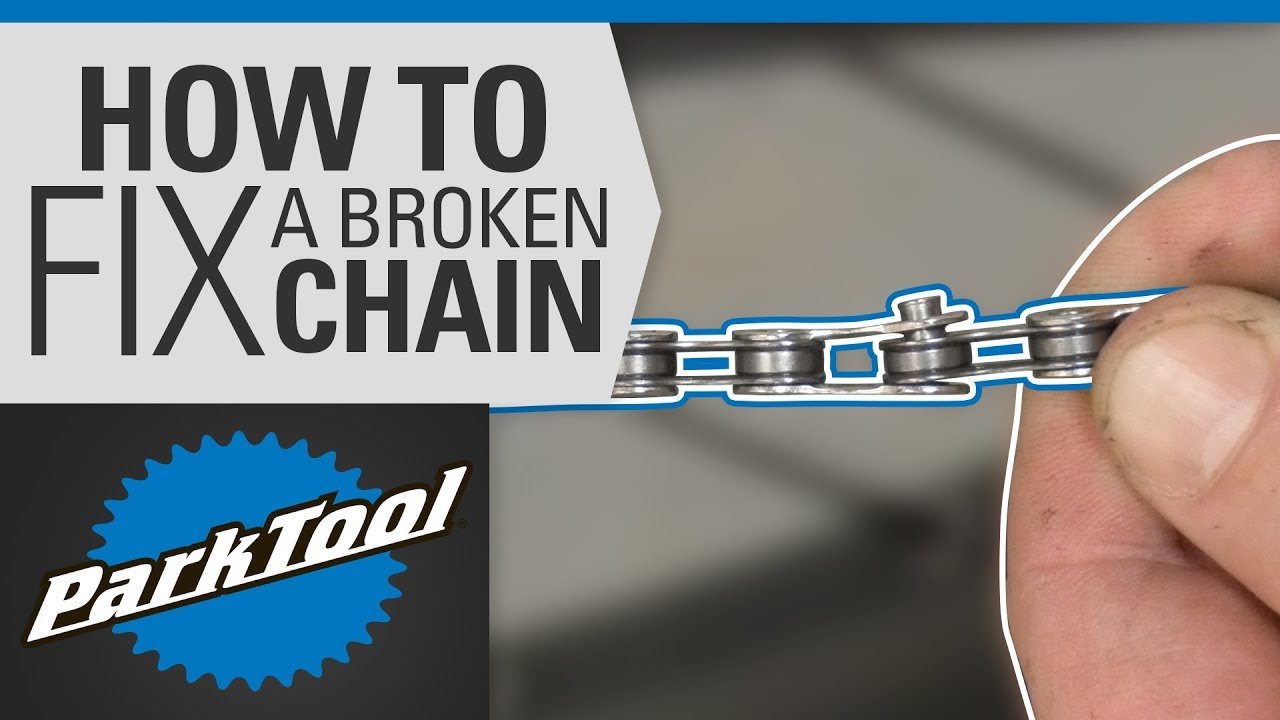
Use a chain tool to push out the pin from the broken link. Remove the broken link completely from the chain. Align the new link with the chain ends. Use the chain tool to insert the pin into the new link. Ensure the pin is flush with the link plates. Check the new link for smooth movement. Reattach the chain to the gears. Rotate the pedals to ensure the chain runs smoothly. Apply lubricant evenly across the entire chain. Wipe off excess lubricant with a rag. Test ride the bicycle to ensure the repair is successful.
            Replacement chain link, Lubricant
            Medium
            Keep a spare chain link in your repair kit., Regularly clean and lubricate your chain to extend its life.
            30
            https://www.youtube.com/watch?v=HpUCCrgugQE