How do I apply a decal/graphic without bubbles?

Check out your helpful results below!
Jump to a section, or see what you’ll get:
Jump to:
Scroll for the full guide ↓
  • 🎥 A step-by-step video walkthrough
  • 🧰 A tools & supplies checklist
  • 📋 Clear step-by-step instructions
  • ⚠️ Safety notes + pro tips
  • 🧑‍🔧 Connections to local pros (if you want help)

Video

Don't Let This Be You

Estimated Time:

Difficulty:

Tools

    Materials

      Steps

        Safety Notes

          Pro Tips

            Did this tutorial help?

            Send me this Do It Yourself tutorial via email

            Need a pro

            Need a pro?

            Tell us what went wrong and we’ll connect you with a trusted local pro.

            Please enter your name.
            Enter a valid email.
            Enter a valid phone number.
            Enter your ZIP/postcode.
            Pick a trade.
            Tell us a bit about the issue.
            Image must be under 3 MB.
            By sending, you agree to our Terms and Privacy.
            Free quotes No spam Cancel anytime
            diy4uai21-20
            squeegee or plastic card, spray bottle, clean microfiber cloth, masking tape, scissors or utility knife
            Use a sharp blade carefully when trimming excess vinyl., Avoid applying decals in windy or dusty environments., Ensure the surface is dry to prevent slipping or poor adhesion.
            Clean the surface with a microfiber cloth to remove dirt, grease, and dust. Dry the surface completely before applying the decal. 
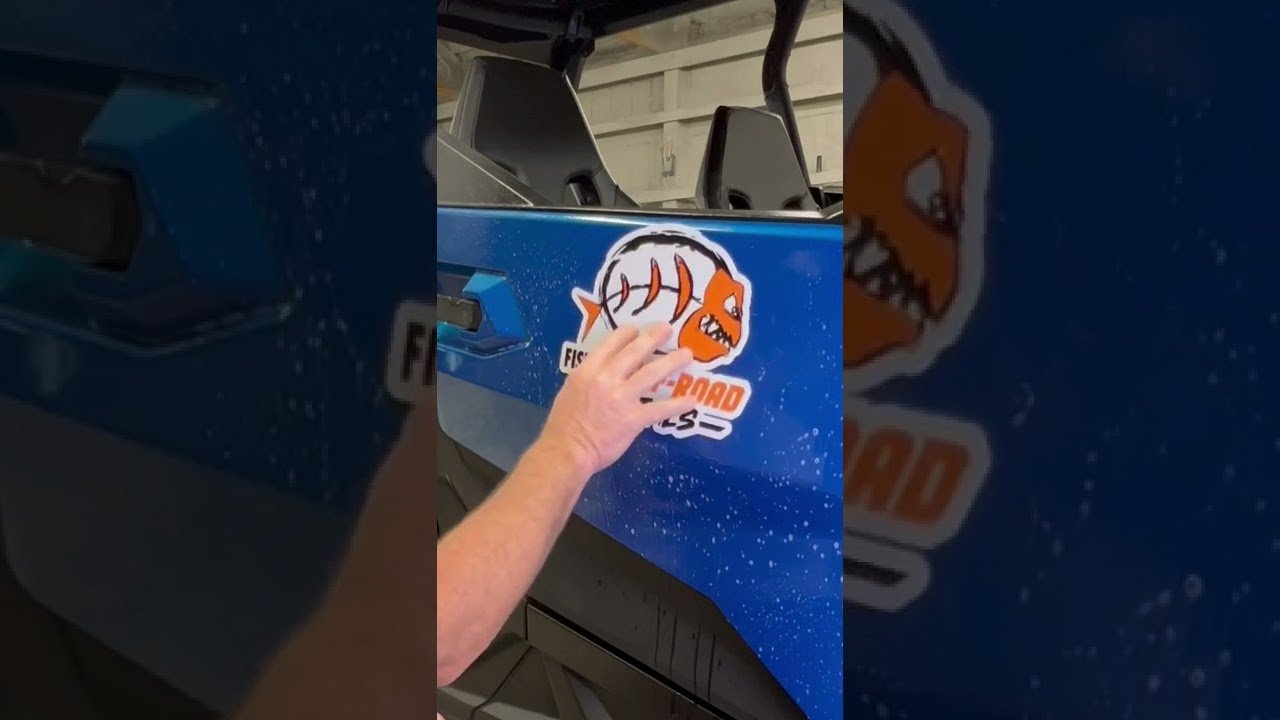
Position the decal on the surface and secure it with masking tape as a hinge. Lift one side of the decal and peel off the backing paper halfway. Spray application fluid on the exposed adhesive side and the surface. Carefully lay the decal onto the surface starting from the center outward. Use a squeegee or plastic card to press the decal down, working from center to edges. Peel off the remaining backing paper while spraying application fluid as needed. Continue applying the decal with the squeegee to remove bubbles and fluid. Once fully applied, slowly peel off the transfer tape at a sharp angle. Check for any small bubbles and gently press them out with the squeegee. Use a pin to pop stubborn bubbles and smooth them out carefully. Trim any excess vinyl with scissors or a utility knife if necessary. Avoid stretching the decal during application to prevent distortion. Let the decal sit undisturbed for at least 24 hours to cure properly. Do not wash or wax the area for at least 48 hours after application. Work in a shaded, dust-free area to prevent premature drying or contamination. Wear gloves if needed to avoid fingerprints on the adhesive side. Ensure the temperature is between 50°F and 90°F for best adhesion. Recheck the edges after curing and press down any lifted corners.
            vinyl decal or graphic, application fluid (water with a drop of dish soap)
            Medium
            Use a felt-edged squeegee to avoid scratching the decal., Apply decals in a garage or shaded area to control temperature., Mist the surface lightly to allow repositioning before final placement., Use masking tape as a hinge to keep alignment perfect., Warm the decal slightly with a hair dryer to help it conform to curves.
            45
            https://www.youtube.com/watch?v=Vl0kEH0qLPY
            "https://youtu.be/9n6em1ZBOvI?si=rWqitTC3UuZtYa7y" ​