Lift the toilet seat lid and seat to access the mounting bolts underneath.
Locate the plastic or metal caps covering the seat bolts at the back of the seat.
Use a flathead screwdriver to pop open the bolt caps if present.
Hold the nut underneath the toilet bowl with your hand or wrench to prevent spinning.
Use an adjustable wrench or screwdriver to unscrew the bolts securing the old seat.
Remove the old toilet seat and set it aside carefully.
Put on gloves and clean the area around the toilet bowl holes with disinfectant.
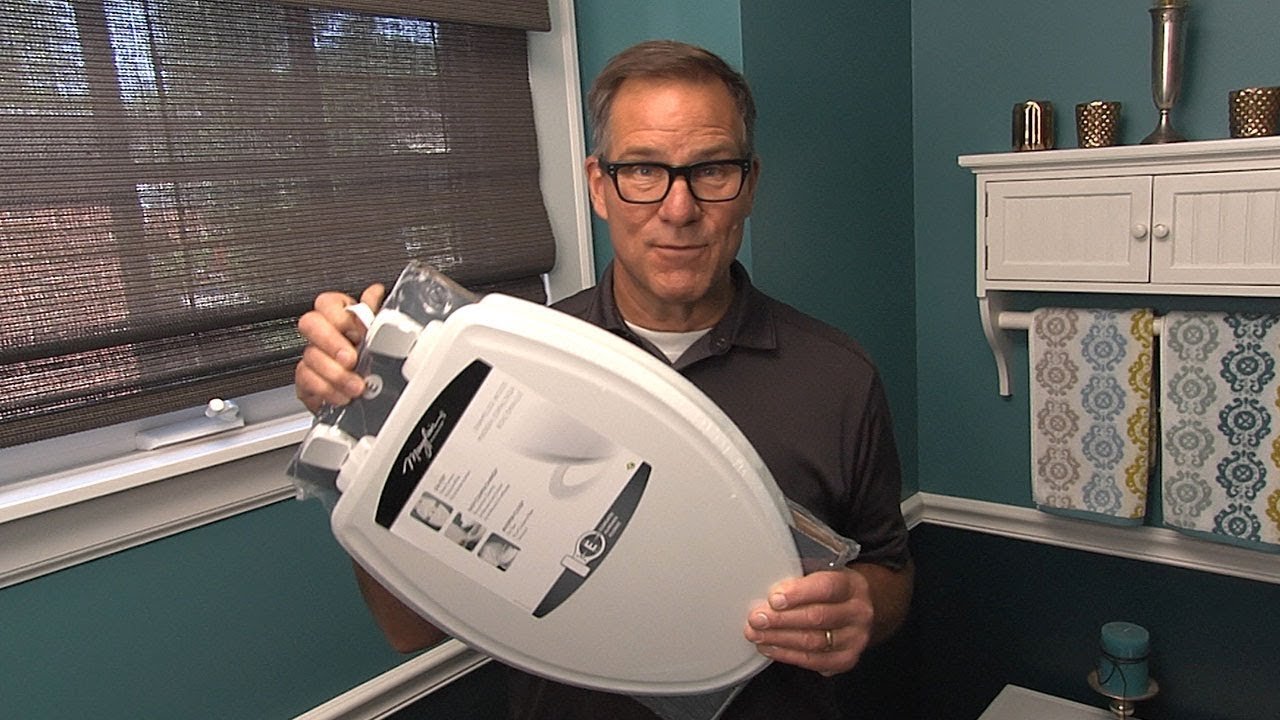
Unpack the new toilet seat and identify the included mounting hardware.
Align the new seat's hinges with the holes on the toilet bowl.
Insert the new bolts through the hinge holes and into the toilet bowl holes.
From underneath, thread the nuts onto the bolts by hand to hold the seat in place.
Use a wrench or screwdriver to tighten the bolts, being careful not to overtighten.
Ensure the seat is centered and aligned properly before final tightening.
Close the bolt caps if your new seat includes them.
Test the seat by lowering and raising it to ensure smooth operation.
Sit briefly on the seat to check for movement or looseness.
Re-tighten bolts slightly if the seat shifts or feels unstable.
Dispose of the old seat and packaging materials properly.
Wash your hands thoroughly after completing the installation.
Store any leftover hardware or instructions for future reference.