DIY resin crafts for beginners

Check out your helpful results below!
Jump to a section, or see what you’ll get:
Jump to:
Scroll for the full guide ↓
  • 🎥 A step-by-step video walkthrough
  • 🧰 A tools & supplies checklist
  • 📋 Clear step-by-step instructions
  • ⚠️ Safety notes + pro tips
  • 🧑‍🔧 Connections to local pros (if you want help)

Video

Don't Let This Be You

Estimated Time:

Difficulty:

Tools

    Materials

      Steps

        Safety Notes

          Pro Tips

            Did this tutorial help?

            Send me this Do It Yourself tutorial via email

            Need a pro

            Need a pro?

            Tell us what went wrong and we’ll connect you with a trusted local pro.

            Please enter your name.
            Enter a valid email.
            Enter a valid phone number.
            Enter your ZIP/postcode.
            Pick a trade.
            Tell us a bit about the issue.
            Image must be under 3 MB.
            By sending, you agree to our Terms and Privacy.
            Free quotes No spam Cancel anytime
            diy4uai21-20
            Mixing cups, Stir sticks, Heat gun or torch, Measuring scale, Gloves, Protective mask
            Always wear gloves and a mask when handling resin., Work in a well-ventilated area to avoid inhaling fumes., Keep resin away from children and pets., Do not pour resin down the drain., Follow manufacturer instructions for curing and disposal.
            Choose a well-ventilated area and cover your workspace with plastic or disposable paper. Wear nitrile gloves and a protective mask to avoid skin contact and inhalation of fumes. Use a measuring scale to accurately measure equal parts of resin and hardener. Pour the resin and hardener into a mixing cup and stir slowly for 3–5 minutes. 
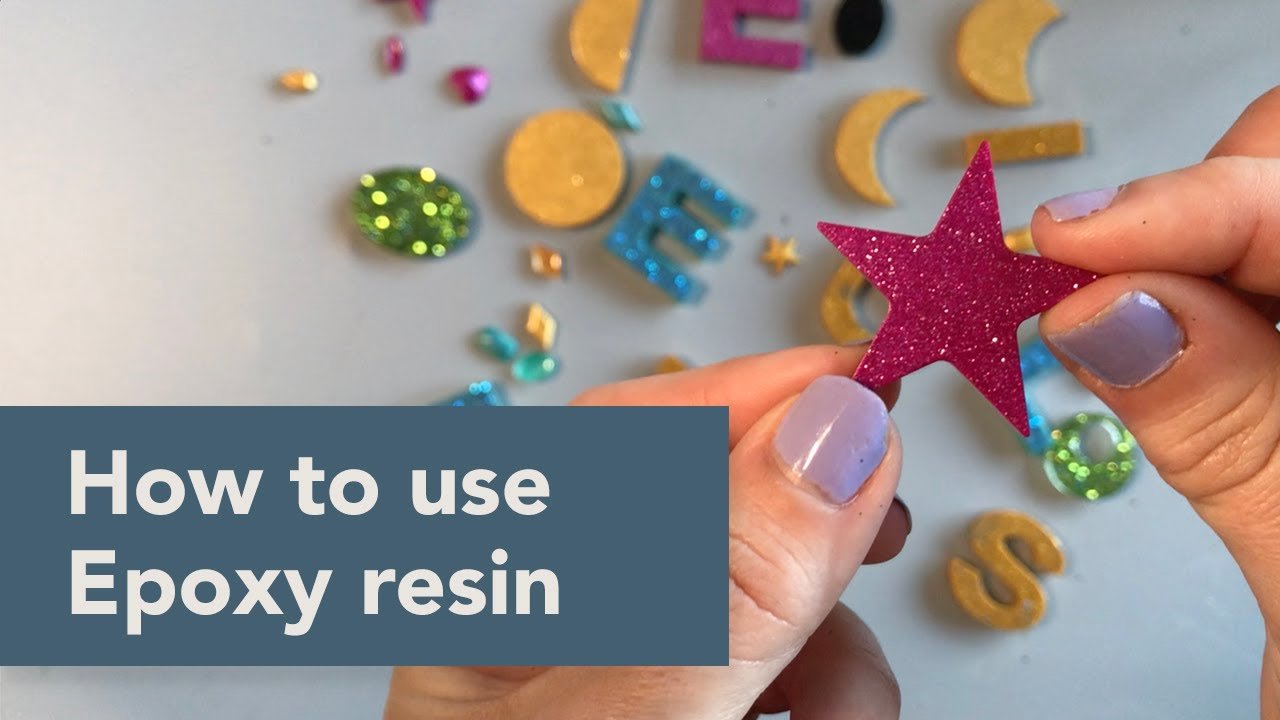
Add color pigments, glitter, or small decorative items to the mixed resin as desired. Slowly pour the resin mixture into clean, dry silicone molds to avoid overflow. Use a heat gun or torch briefly over the surface to remove air bubbles. Allow the resin to cure undisturbed for the time specified by the manufacturer, usually 24–48 hours. Check that the resin is fully hardened before attempting to remove it from the molds. Gently demold the resin pieces by flexing the silicone molds or pushing from the bottom. Inspect the finished pieces and sand any sharp edges if necessary using fine-grit sandpaper. Clean any spills or tools with isopropyl alcohol before the resin hardens. Store unused resin and hardener in a cool, dry place away from direct sunlight. Dispose of resin waste and used gloves according to local hazardous waste guidelines. Avoid pouring leftover resin down the drain to prevent plumbing damage. Label your resin containers clearly to avoid confusion in future projects. Keep pets and children away from the workspace during and after the project. Practice with small molds first to get comfortable with the mixing and curing process. Document your process and results to improve future resin craft projects. Wash your hands thoroughly after completing the project, even if gloves were worn.
            Epoxy resin, Resin hardener, Silicone molds, Color pigments, Glitter or decorative items, Isopropyl alcohol
            Medium
            Warm your resin bottles slightly in warm water to reduce bubbles., Use silicone molds for easy demolding and reuse., Add layers of resin for depth and dimension in your designs., Use toothpicks to position small decorative items precisely., Let resin sit for a minute after mixing to allow bubbles to rise.
            90
            https://www.youtube.com/watch?v=-nIyy9Y-Wzc
            if( length(trim() > 0; trim(); "https://youtu.be/9n6em1ZBOvI?si=rWqitTC3UuZtYa7y" )