Re-caulk tub/shower

Check out your helpful results below!
Jump to a section, or see what you’ll get:
Jump to:
Scroll for the full guide ↓
  • 🎥 A step-by-step video walkthrough
  • 🧰 A tools & supplies checklist
  • 📋 Clear step-by-step instructions
  • ⚠️ Safety notes + pro tips
  • 🧑‍🔧 Connections to local pros (if you want help)

Video

Don't Let This Be You

Estimated Time:

Difficulty:

Tools

    Materials

      Steps

        Safety Notes

          Pro Tips

            Did this tutorial help?

            Send me this Do It Yourself tutorial via email

            Need a pro

            Need a pro?

            Tell us what went wrong and we’ll connect you with a trusted local pro.

            Please enter your name.
            Enter a valid email.
            Enter a valid phone number.
            Enter your ZIP/postcode.
            Pick a trade.
            Tell us a bit about the issue.
            Image must be under 3 MB.
            By sending, you agree to our Terms and Privacy.
            Free quotes No spam Cancel anytime
            diy4uai21-20
            Utility knife, Caulk removal tool, Caulking gun, Sponge, Bucket, Rubbing alcohol, Paper towels, Painter's tape
            Use caution when handling sharp tools like utility knives., Ensure the area is dry to prevent slips and falls., Ventilate the room when using caulk to avoid inhaling fumes., Wear gloves to protect your skin from chemicals and adhesives.
            Use a utility knife or caulk removal tool to carefully cut and peel away old caulk. Scrape off any remaining residue to ensure a clean surface for new caulk adhesion. Wipe the area with rubbing alcohol to remove soap scum, mold, and oils. Rinse the area with clean water and dry thoroughly using paper towels or a cloth. Allow the tub or shower to air dry for at least an hour to ensure no moisture remains. Apply painter’s tape above and below the joint to create clean caulk lines. Cut the tip of the caulk tube at a 45-degree angle to match the joint size. 
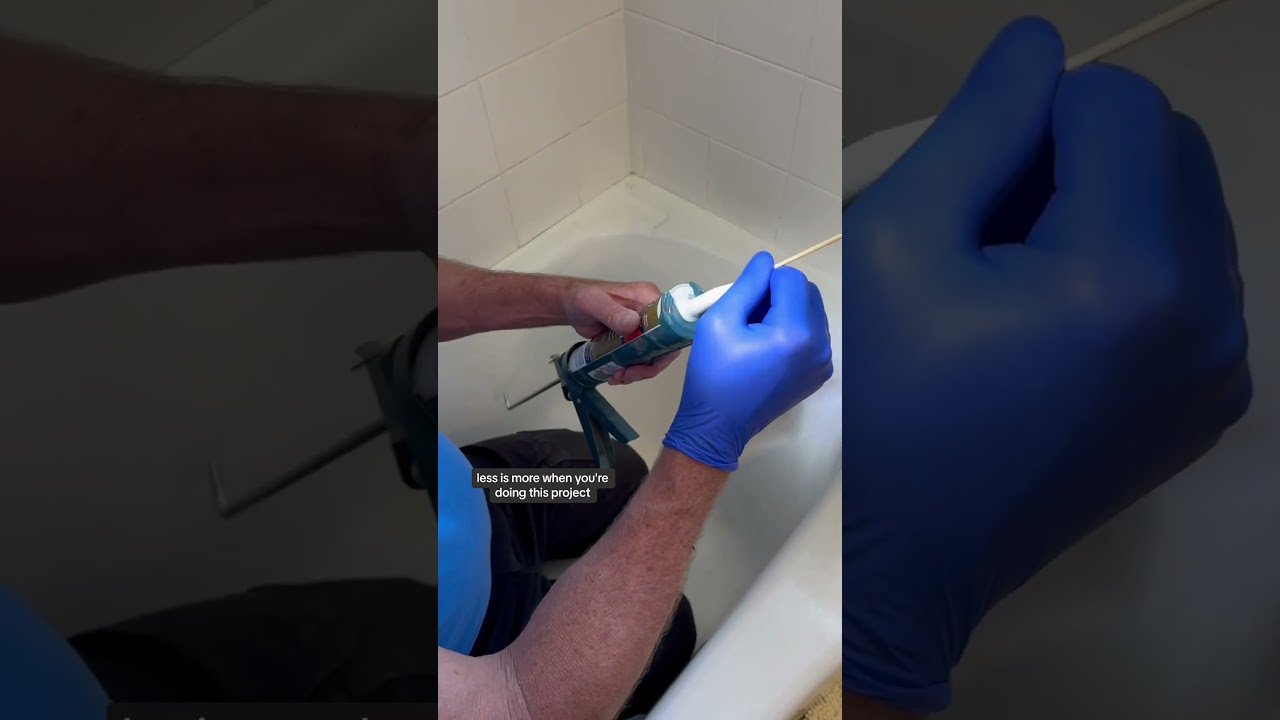
Insert the caulk tube into the caulking gun and press the release trigger to prime. Apply a steady bead of caulk along the seam, keeping consistent pressure on the gun. Use a wet finger or caulk-smoothing tool to smooth the bead and ensure good adhesion. Carefully remove the painter’s tape before the caulk begins to skin over. Wipe away any excess caulk with a damp sponge or paper towel immediately. Inspect the caulk line for gaps or bubbles and touch up if needed. Allow the caulk to cure fully according to the manufacturer’s instructions, typically 24 hours. Avoid using the tub or shower during the curing period to ensure proper bonding. Ventilate the bathroom to help the caulk dry and reduce fumes. Dispose of old caulk and used materials properly after completing the job. Store unused caulk in a cool, dry place for future touch-ups.
            Tub and tile caulk (mildew-resistant, silicone or latex), Masking tape or painter's tape
            Medium
            Use a hairdryer to speed up drying before applying new caulk., Choose a caulk color that matches your tile or tub for a seamless look., Practice applying caulk on cardboard to get a steady hand., Use painter’s tape for crisp, professional-looking lines.
            90
            https://www.youtube.com/watch?v=xEsONfuSyH8
            if( length(trim() > 0; trim(); "https://youtu.be/9n6em1ZBOvI?si=rWqitTC3UuZtYa7y" )