Drywall hole patch

Check out your helpful results below!
Jump to a section, or see what you’ll get:
Jump to:
Scroll for the full guide ↓
  • 🎥 A step-by-step video walkthrough
  • 🧰 A tools & supplies checklist
  • 📋 Clear step-by-step instructions
  • ⚠️ Safety notes + pro tips
  • 🧑‍🔧 Connections to local pros (if you want help)

Video

Don't Let This Be You

Estimated Time:

Difficulty:

Tools

    Materials

      Steps

        Safety Notes

          Pro Tips

            Did this tutorial help?

            Send me this Do It Yourself tutorial via email

            Need a pro

            Need a pro?

            Tell us what went wrong and we’ll connect you with a trusted local pro.

            Please enter your name.
            Enter a valid email.
            Enter a valid phone number.
            Enter your ZIP/postcode.
            Pick a trade.
            Tell us a bit about the issue.
            Image must be under 3 MB.
            By sending, you agree to our Terms and Privacy.
            Free quotes No spam Cancel anytime
            diy4uai21-20
            Utility knife, Putty knife, Sanding block, Drill, Drywall saw
            Wear a dust mask when sanding joint compound., Use eye protection when cutting drywall., Ensure power tools are unplugged when changing bits or blades.
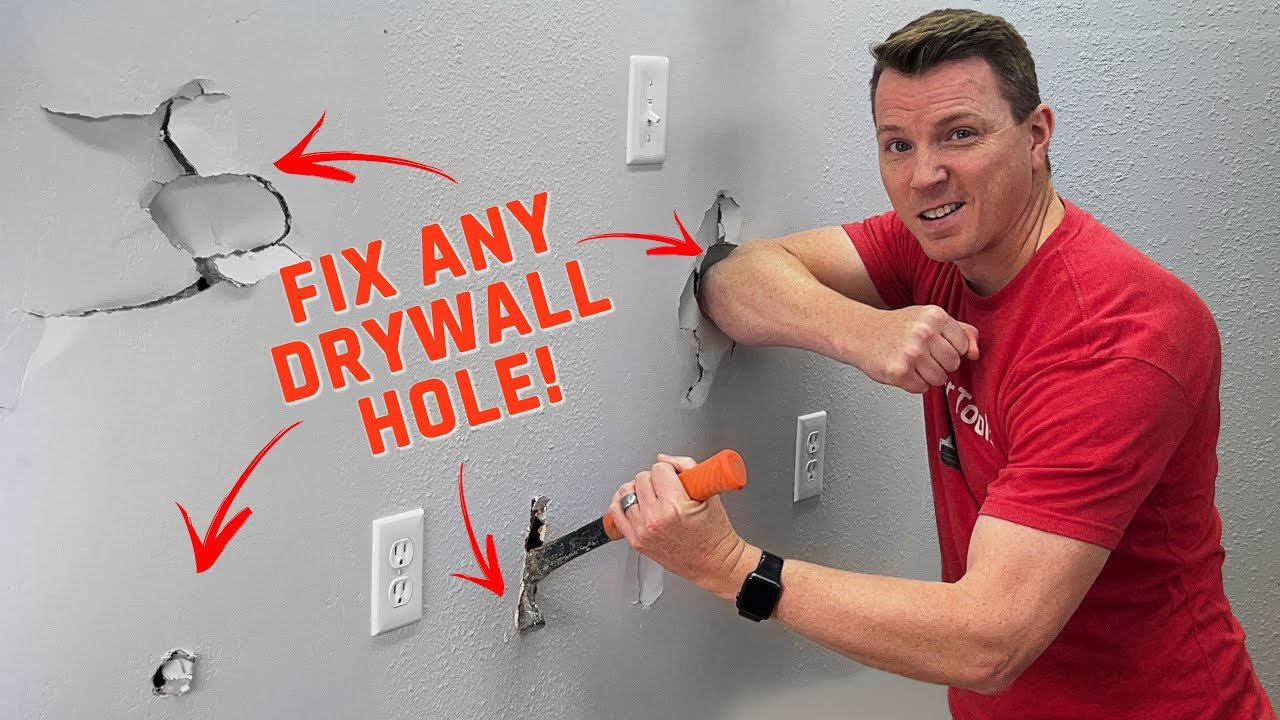
            Use a utility knife to cut a clean square or rectangle around the damaged drywall. Measure the hole and cut a drywall patch to fit the opening snugly. Secure the drywall patch in place using screws and a drill into wall studs or backing strips. Apply drywall tape over the seams between the patch and existing wall. Use a putty knife to spread joint compound over the tape and patch area evenly. Allow the joint compound to dry completely, following the product instructions. Sand the dried compound with a sanding block until smooth and flush with the wall. Apply a second thin coat of joint compound to blend the patch with the wall. Let the second coat dry fully before proceeding to the next step. Sand the area again to ensure a smooth, even surface. Wipe away dust with a damp cloth before priming. Apply primer over the patched area to seal the surface and prepare for paint. Allow the primer to dry according to the manufacturer's directions. Paint the patched area to match the surrounding wall color. Let the paint dry and apply a second coat if needed for full coverage. Clean all tools and dispose of any debris properly. Inspect the patch to ensure it is smooth and blends with the wall. Touch up any imperfections with additional sanding or compound if necessary. Ensure the area is dry and safe before returning furniture or decorations. Store leftover materials for future repairs.
            Drywall patch, Joint compound, Drywall tape, Screws, Primer, Paint
            Medium
            Feather the edges of the joint compound to blend better with the wall., Use a light source at an angle to spot imperfections before painting., Tint the primer slightly to match the wall color for better coverage.
            120
            https://www.youtube.com/watch?v=uvQK7WTkKpI
            if( length(trim() > 0; trim(); "https://youtu.be/9n6em1ZBOvI?si=rWqitTC3UuZtYa7y" )