Toilet won’t flush

Check out your helpful results below!
Jump to a section, or see what you’ll get:
Jump to:
Scroll for the full guide ↓
  • 🎥 A step-by-step video walkthrough
  • 🧰 A tools & supplies checklist
  • 📋 Clear step-by-step instructions
  • ⚠️ Safety notes + pro tips
  • 🧑‍🔧 Connections to local pros (if you want help)

Video

Don't Let This Be You

Estimated Time:

Difficulty:

Tools

    Materials

      Steps

        Safety Notes

          Pro Tips

            Did this tutorial help?

            Send me this Do It Yourself tutorial via email

            Need a pro

            Need a pro?

            Tell us what went wrong and we’ll connect you with a trusted local pro.

            Please enter your name.
            Enter a valid email.
            Enter a valid phone number.
            Enter your ZIP/postcode.
            Pick a trade.
            Tell us a bit about the issue.
            Image must be under 3 MB.
            By sending, you agree to our Terms and Privacy.
            Free quotes No spam Cancel anytime
            diy4uai21-20
            Screwdriver, Adjustable wrench, Bucket, Gloves, Towel
            Turn off the water supply before starting any repairs., Wear gloves to avoid contact with dirty water or bacteria., Use caution when handling porcelain parts to avoid cracks or injury.
            Remove the toilet tank lid carefully and set it aside on a towel. 
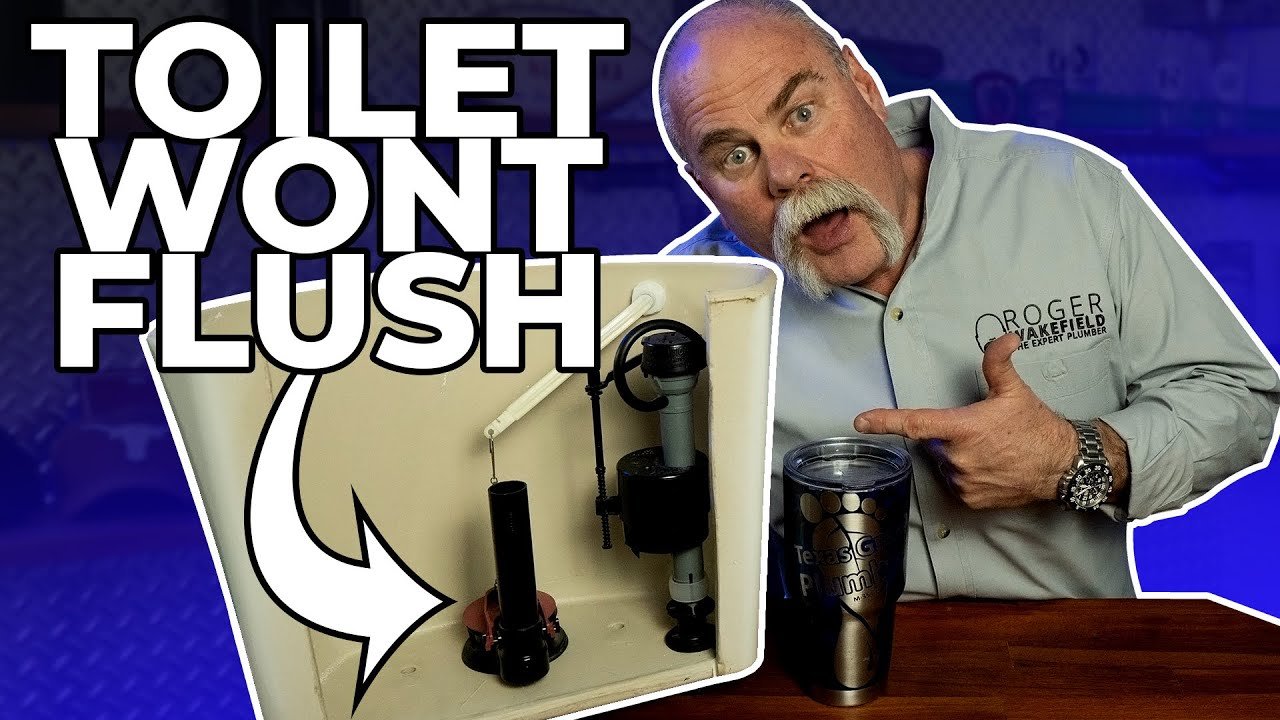
Check the rubber flapper at the bottom of the tank for warping or deterioration. Inspect the chain connecting the flush lever to the flapper for slack or disconnection. Adjust the chain length so there is slight slack when the flapper is closed. Test the flush lever to ensure it lifts the flapper properly. Turn off the water supply valve located behind the toilet. Flush the toilet to drain the tank completely before making repairs. Use gloves to remove the old flapper if it is damaged or not sealing properly. Install a new flapper by attaching it to the overflow tube and connecting the chain. Inspect the fill valve for signs of malfunction such as weak water flow or noise. If the fill valve is faulty, use a wrench to remove and replace it with a new one. Ensure all connections are tight but do not overtighten plastic fittings. Turn the water supply back on slowly and allow the tank to fill. Check for leaks around the flapper and fill valve connections. Test the flush mechanism to confirm the toilet flushes properly. Adjust the water level in the tank using the float adjustment screw if needed. Make sure the flapper closes completely after flushing. Ensure the chain does not get caught under the flapper during operation. Replace the tank lid carefully once all components are working correctly. Clean up any spilled water and dispose of old parts properly.
            Replacement flapper, Fill valve (if needed), Chain (if needed)
            Medium
            Keep a spare flapper and fill valve on hand for future repairs., Use a towel under the tank lid to prevent chipping or cracking., Mark the water level before draining to help with refilling adjustments.
            45
            https://www.youtube.com/watch?v=iir7DNeI2iA
            if( length(trim() > 0; trim(); "https://youtu.be/9n6em1ZBOvI?si=rWqitTC3UuZtYa7y" )